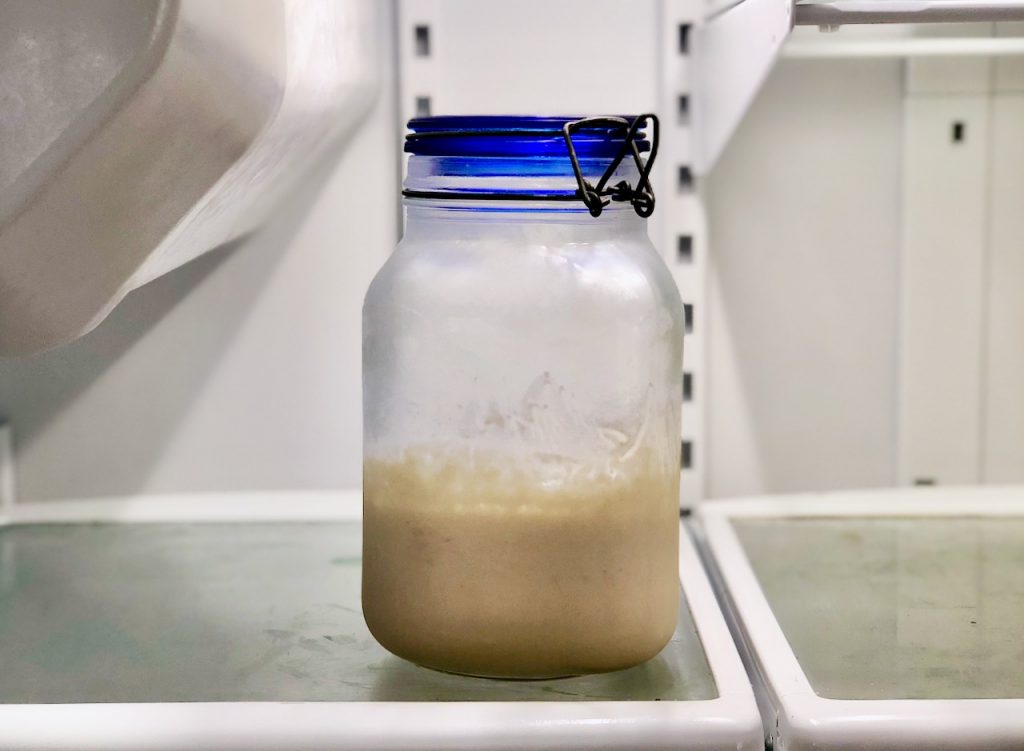
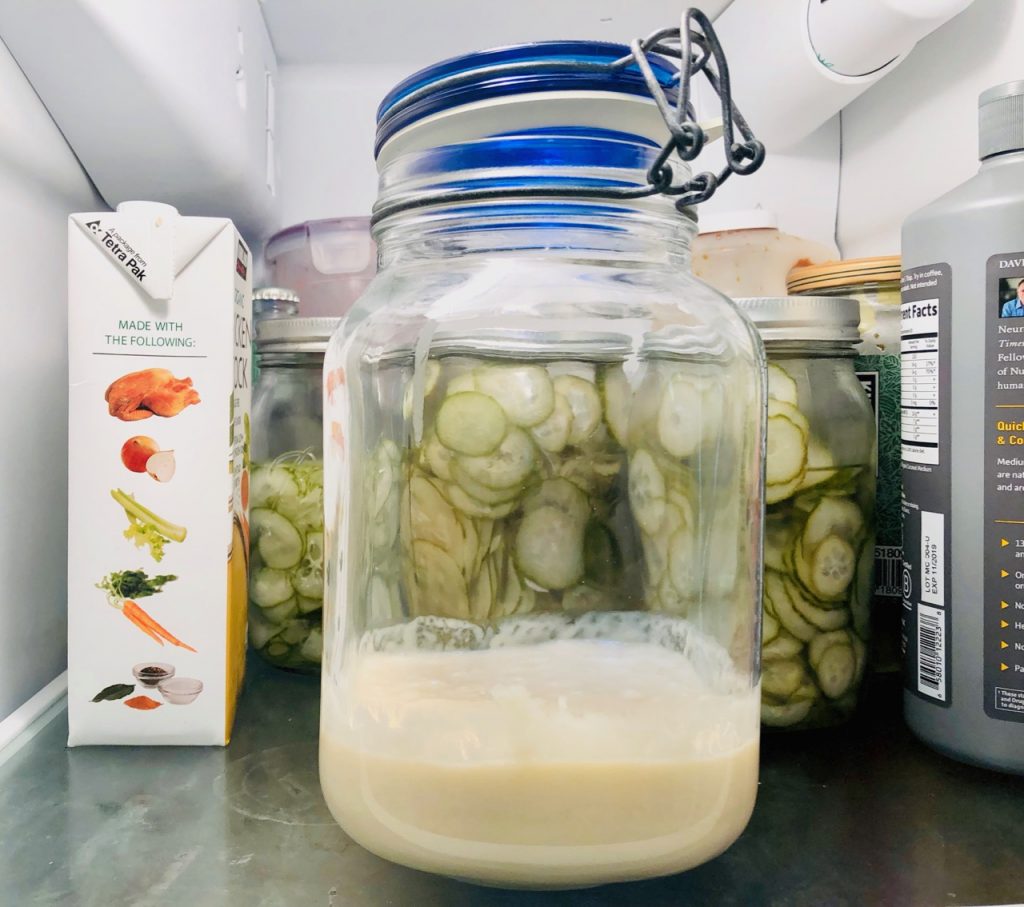
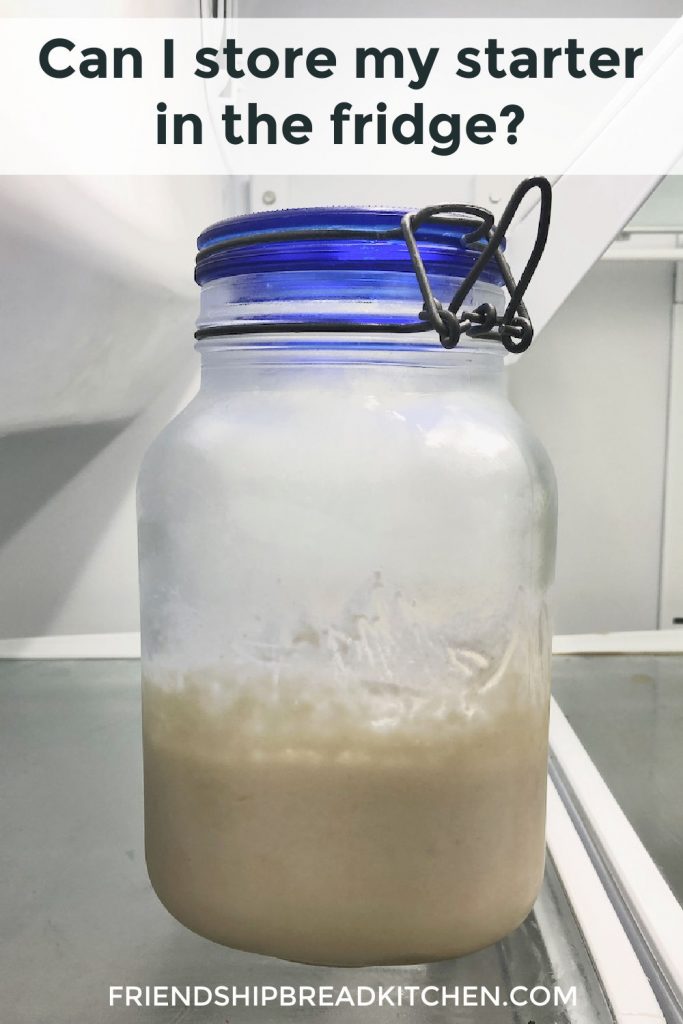
There are two popular ways to maintain and store your starter: on the counter at room temperature or by freezing it. But did you know that you can also store your Amish Friendship Bread starter in your fridge?

The counter and freezer options do well because you’re either maintaining it daily (counter) or stashing it away and forgetting about it (freezer). Placing it in the fridge is an in-between option, and has its fair share of hassles. Here are a few:
- it’s easy to forget about your starter, especially if it’s hidden behind the ketchup
- even if you know your starter is in the fridge, you forget to feed it (“Wait, what day is it?”)
- starters stored in the fridge don’t always re-activate as well as starters stored in freezers
- starters might pick up smells from the fridge
- refrigerated starters are prone to mold
- some people take hungry starters in and out of their fridge and then wonder why their starters aren’t bubbly
But here’s the thing. Storing your starter in the fridge is a great option when you need to temporarily put your starter on hold but don’t want to go through the trouble of freezing it. If you develop a routine, you can maintain your starter in the fridge to stretch out feeding times, too.
How it works
Refrigerating your starter slows the process of fermentation, but your starter is still active. Freezing your starter stops the fermentation process. This means you still need to feed your starter regularly if it’s in the fridge, just not as often if you left it out at room temperature. Starters are not bullet-proof. They need care and attention.
You’ll need to feed it weekly or, if you are used to the 10-day schedule, at least once during a 10-day cycle. Please experiment with the number of days to figure out what’s optimal for your starter, but do not exceed two weeks. The bottom line for any sourdough starter is this: a healthy starter needs to be regularly fed, and at the right ratios. If anything, people underfeed their starters. Underfeeding works for a little while, but eventually, the yeasts will die out and your starter will spoil or get contaminated.
It’s important to let your starter return to room temperature for 12-24 hours, even 36 hours, before using it in a recipe. You’ll want to see bubbles (the more, the better) to make sure it’s still healthy and active.
Reasons for storing your starter in the fridge
You should store your starter in the fridge if:
- You plan to bake 2-4x a month. If you don’t have a plan to regularly bake, then freeze your starter. Refrigerated starters still have to be fed regularly, and if you are not using it, you’ll need to discard some starter regularly as well.
- You can’t care for your starter for a couple of days to a week. For best results, you want to make sure your starter is fed (and fed at the proper ratio of 1 cup flour, 1 cup sugar, and 1 cup milk for every 1 cup of starter in your container) before popping it into the fridge.
How to store your starter in the fridge
- Reduce your starter to 1 cup and give it a good feeding. Stir well and leave on the counter for 12 hours before placing in the fridge (note: if you have to put it in before then, you can. I just like to give the yeast a chance to start metabolizing the sugars). Mix well before putting it into the fridge.
- Store your starter in a jar or a container with a lid. Leave the lid cracked open–some people seal their jars and claim to have no issues, but I don’t recommend this because the starter does release CO2, acids, and ethanol. If you left a sealed container of starter on the counter at room temperature, it could explode if air isn’t regularly released. While this is unlikely in the fridge due to the slow fermentation, you always risk forgetting about your starter, and then this could be a problem. So play it safe and leave it cracked open. Note: you can store your starter in a Ziploc bag in the fridge, but be vigilant … you will have to seal the bag so it doesn’t spill, which means you’ll want to make sure you don’t forget about it as you may need to remove air from the bag from time to time. You could also prop it in a bowl to keep it upright.
- Date it. Either write on the glass container or jar with a dry erase pen, or put a note on your fridge with the date you put your starter in. You can also circle the dates on your calendar. Be clear when you’re going to feed your starter. Don’t forget!
- You don’t need to stir it while it’s in the fridge unless you see it separating. To understand why separating happening, read this tutorial post.
- Feed your starter regularly. For ideal results, remove it once a week to feed. Otherwise, you can feed every 10 days or (risky but possible) up to two weeks.
- Remove your starter at least 12-24 hours prior to baking with it. I remove mine 48 hours prior as I usually don’t see activity until the second day. When it’s ready, feed it and remove one (or more) cups for baking.
- Keep your containers clean. If you end up storing your starter in the fridge for more than a month, be sure to clean and/or swap your storage containers regularly.
- Give your starter another 12 hours after feeding it before you return it to the fridge. This gives your starter a chance to begin metabolizing the ingredients before it goes into slo-mo at the colder temperatures. Go back to #1 and start the process again!
One last thing: the rule of the kitchen is when in doubt, throw it out. If you can’t remember when you fed your starter last, or if it looks funky, or if it’s discolored, don’t second guess yourself. Toss it, and make a new starter (or pull a bag from the freezer). Your health, and the health of the people you feed, is all that matters. But if you keep your starter dated and regularly fed, you should be in good shape to bake Amish Friendship Bread whenver you want!

How to Store Your Amish Friendship Bread Starter in the Refrigerator
Instructions
- Reduce your starter to 1 cup and give it a good feeding. Stir well and leave on the counter for 12 hours before placing in the fridge (if you have to put it in before then, you can. I just like to give the yeast a chance to start metabolizing the sugars). Mix well before putting it into the fridge.
- Store your starter in a jar or a container with a lid. Leave the lid cracked open–some people seal their jars and claim to have no issues, but I don't recommend this because the starter does release CO2, acids, and ethanol. If you left a sealed container of starter on the counter at room temperature, it could explode if air isn't regularly released. While this is unlikely in the fridge due to the slow fermentation, you always risk forgetting about your starter, and then this could be a problem. So play it safe and leave it cracked open. Note: you can store your starter in a Ziploc bag in the fridge, but be vigilant … you will have to seal the bag so it doesn't spill, which means you'll want to make sure you don't forget about it as you may need to remove air from the bag from time to time. You could also prop it in a bowl to keep it upright.
- Date it. Either write on the glass container or jar with a dry erase pen, or put a note on your fridge with the date you put your starter in. You can also circle the dates on your calendar. Be clear when you're going to feed your starter. Don't forget!
- You don't need to stir it while it's in the fridge unless you see it separating. To understand why separating happening, read this tutorial post.
- Feed your starter regularly. For ideal results, remove it once a week to feed. Otherwise, you can feed every 10 days or (risky but possible) up to two weeks.
- Remove your starter at least 12-24 hours prior to baking with it. I remove mine 48 hours prior as I usually don't see activity until the second day. When it's ready, feed it and remove one (or more) cups for baking.
- Keep your containers clean. If you end up storing your starter in the fridge for more than a month, be sure to clean and/or swap your storage containers regularly.
- Give your starter another 12 hours after feeding it before you return it to the fridge. This gives your starter a chance to begin metabolizing the ingredients before it goes into slo-mo at the colder temperatures. You'll want to see bubbles (the more, the better) to make sure it's still healthy and active.
Notes
- Refrigerated starters still have to be fed regularly at the proper ratios. If you are not baking with your starter regularly, discard some of it before feeding.
- Make sure your starter is fed (and fed at the proper ratio of 1 cup flour, 1 cup sugar, and 1 cup milk for every 1 cup of starter in your container) before popping it into the fridge.
- When in doubt, throw it out. Toss it, and make a new starter (or pull a bag from the freezer).


Share your thoughts