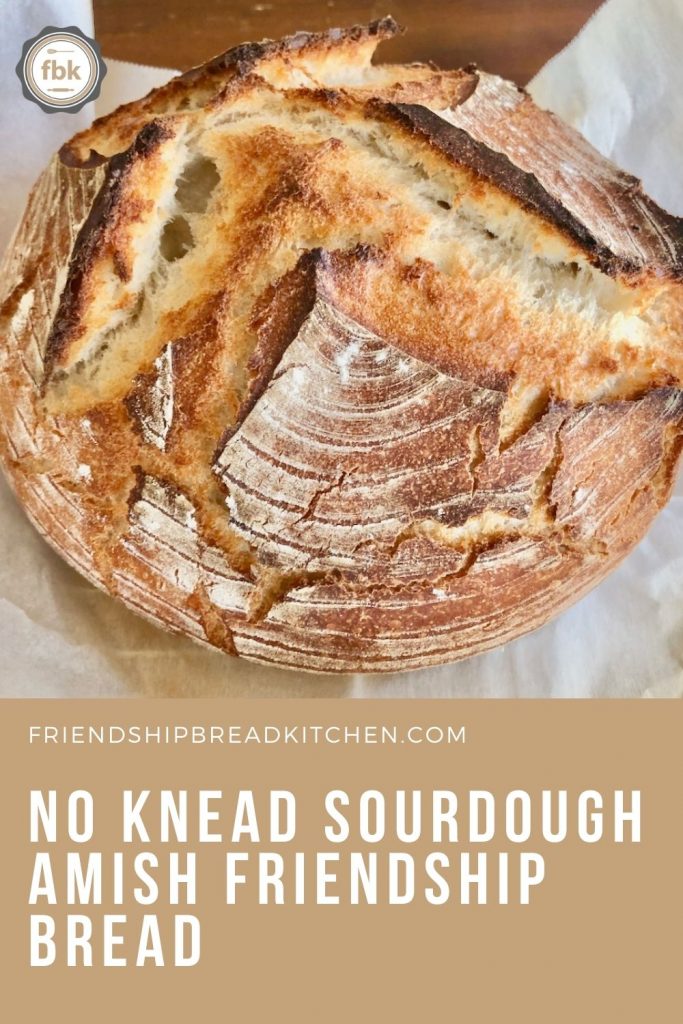
This crusty No-Knead Sourdough Bread is easy to make and uses 1 cup of Amish Friendship Bread starter and NO added yeast. Start early and you can have it on the table by dinner, or prep it a day or two before.
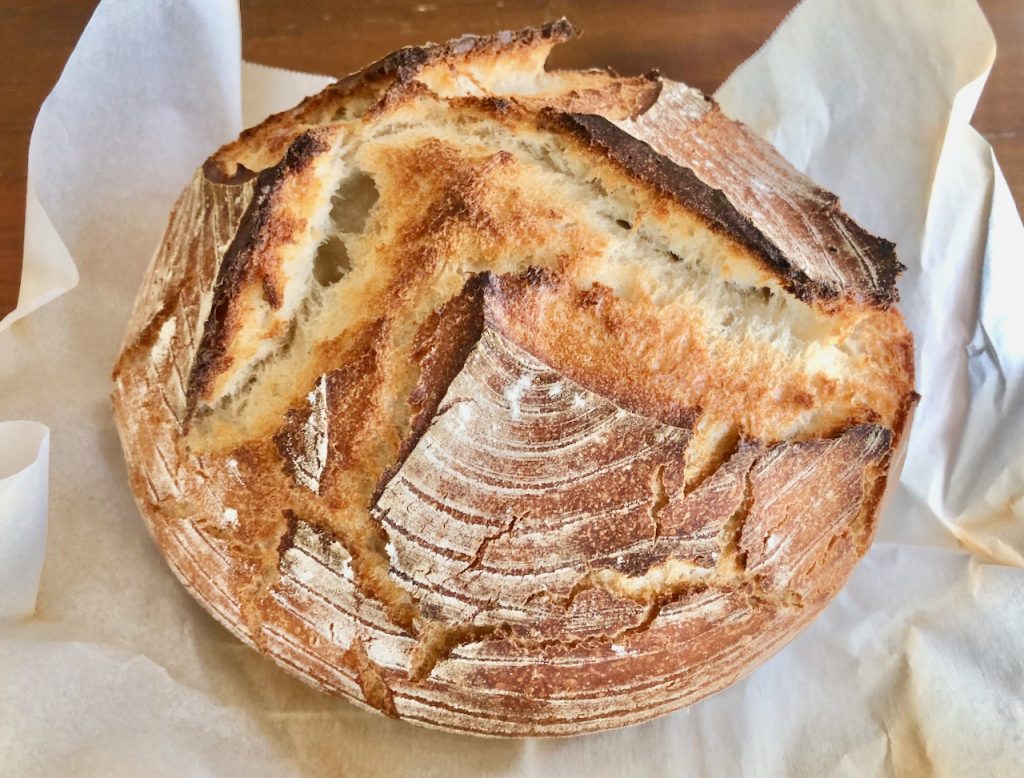
By now, you’ve probably heard everyone raving about Jim Lahey’s No-Knead Bread, which first appeared en masse at the New York Times Cooking website a couple of years ago. Everyone went nuts, and life was never the same again.
The idea behind no-knead bread is that you don’t need to be an experienced bread maker to create a near-perfect loaf. You don’t need an expensive Kitchen Aid stand mixer with a dough hook. You don’t even need to put any real muscle into it. Mixing everything together takes less than 20 minutes, but you’ll need to be patient and let the dough do its magic over a day or two.
Unlike the original recipe, this recipe uses NO ADDED YEAST but relies on 1 cup of bubbly Amish Friendship Bread starter and a cool, slow rise to make what is arguably one of the best and most satisfying bread recipes you’ll ever try.
Get your starter ready
Like any recipe that relies on a sourdough starter to give the bread rise and loft, you’ll need to have a starter that’s active and bubbly. You’ll want to use your starter when it’s light and almost frothy, with the yeast actively kicking out bubbles and doing its magic.
For Amish Friendship Bread starters, this is generally 3-12 hours after a feeding. Every starter and every kitchen is different, so hopefully you already have some idea of how your starter behaves so you can plan ahead. If you know you want to be baking this bread, be sure to keep your starter well-fed and warm in the days before you want to bake.
Traditional sourdough starters use the “float test” — in a glass of water, drop a teaspoon of your starter and see if it floats. If it floats, you’re good to go. If it sinks, it means your starter either needs to be fed or, if you just fed it, it’s still eating and not releasing a significant amount of CO2, which is what causes your starter to be frothy and bubbly. Make sure you are feeding your starter at the proper ratios — underfed starters are never good candidates for bread recipes that require a rise.
Note: The loaf will have a slightly sweet tang. If you prefer a less sweet bread, reduce or exclude the sugar when you feed your starter for one or two feedings. You can return to regular feedings once you’ve made the bread.
Stay flexible
Using a starter in bread making requires patience and flexibility. This isn’t the case with any of the 200+ sweet loaves or cakes, cookies, scones, or even brownies, which let you bake with 1 cup of Amish Friendship Bread starter anytime during your 10-day cycle. If you’re not using a packet of commercial yeast for an extra boost, you need to make sure your starter is ready to do some serious heavy lifting.
This means that, depending on the temperature of your kitchen and the temperament of your starter, you may have to wait a few hours or a day to find the best time to prepare your dough. Your starter may not be ready on the day you want to bake. That’s okay. Don’t rush this and don’t use a starter that’s “quiet” or flat, as you won’t be happy with the results.
Are you ready to give this recipe a try? Let’s do it!
The No-Knead Method with an Amish Friendship Bread Twist
Combine 1 cup Amish Friendship Bread active starter (or a regular fed sourdough starter that passes the float test) with 1¾ cups warm water, 5 cups flour (I used all-purpose but bread flour is recommended), and 1 tablespoon of salt. Mix with a large wooden spoon until you have a sticky, shaggy dough (you can add up to an extra ¼ cup water but shouldn’t need much more than that, just be patient and keep mixing). You can cheat and use a stand mixer if you have one — use the paddle attachment on medium speed for 30 seconds to a minute.
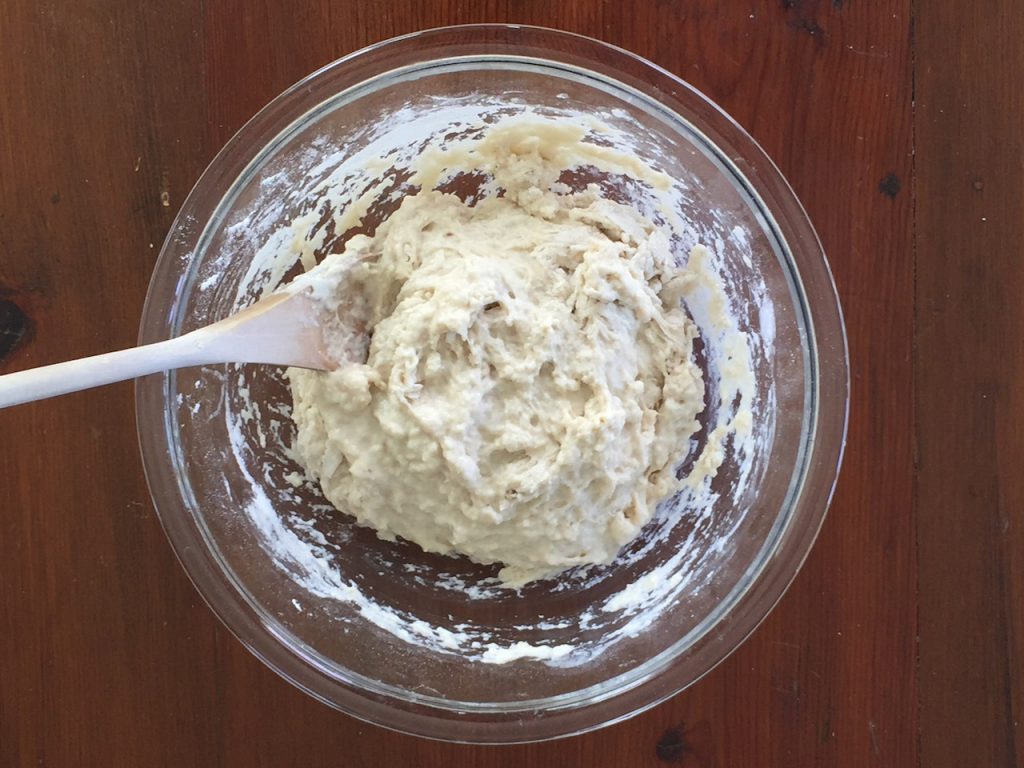
Cover with plastic wrap and let it rise in a warm area of your kitchen for 1 hour.
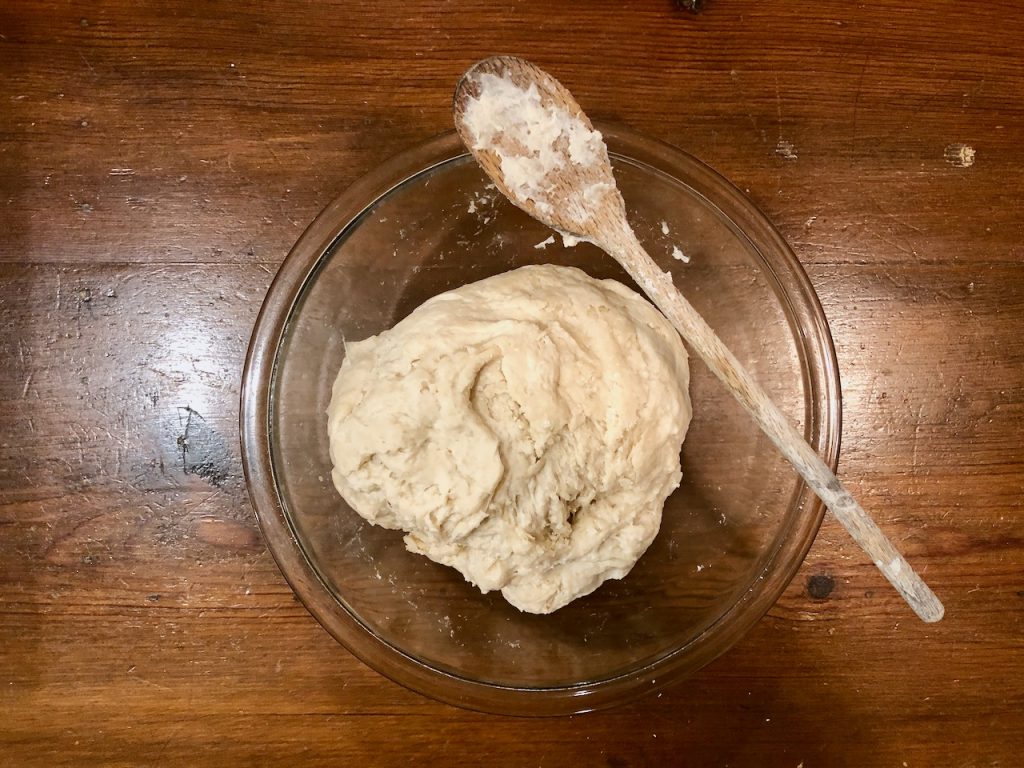
Carefully lift the dough and fold it over on itself a few times. The dough will feel pretty dense. It won’t look very pretty, either. Cover it again, and let it rise for 1 more hour.
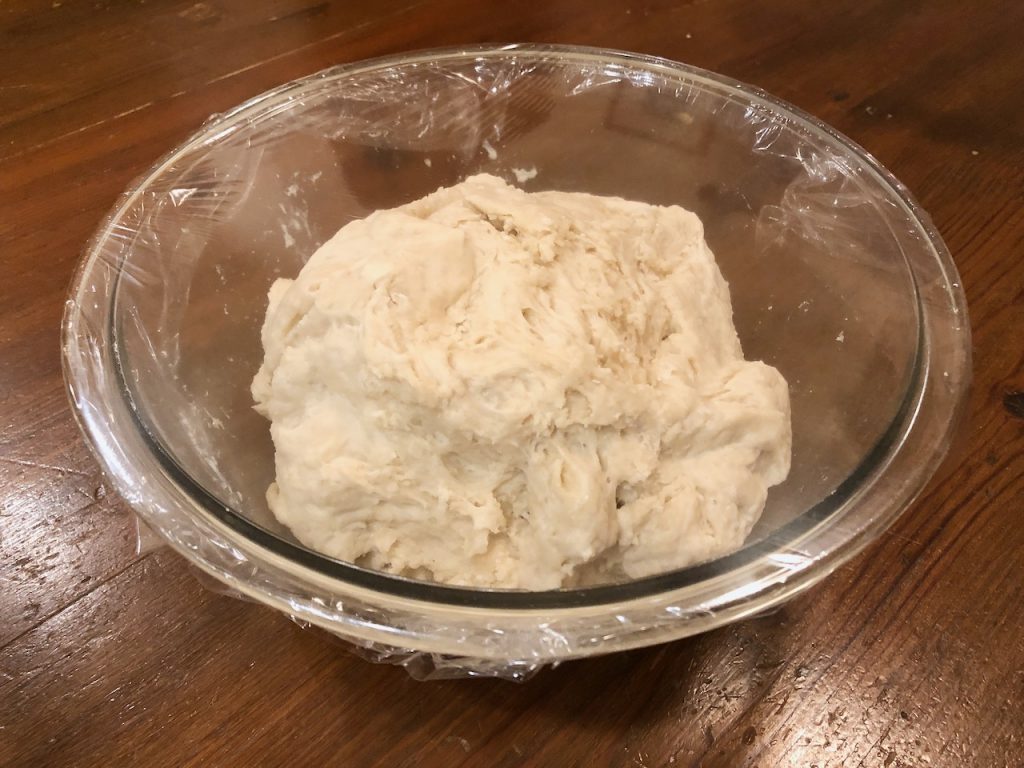
Repeat the fold-rise two more times for a total of 3 hours. The dough should have a nice smooth texture after the last fold.
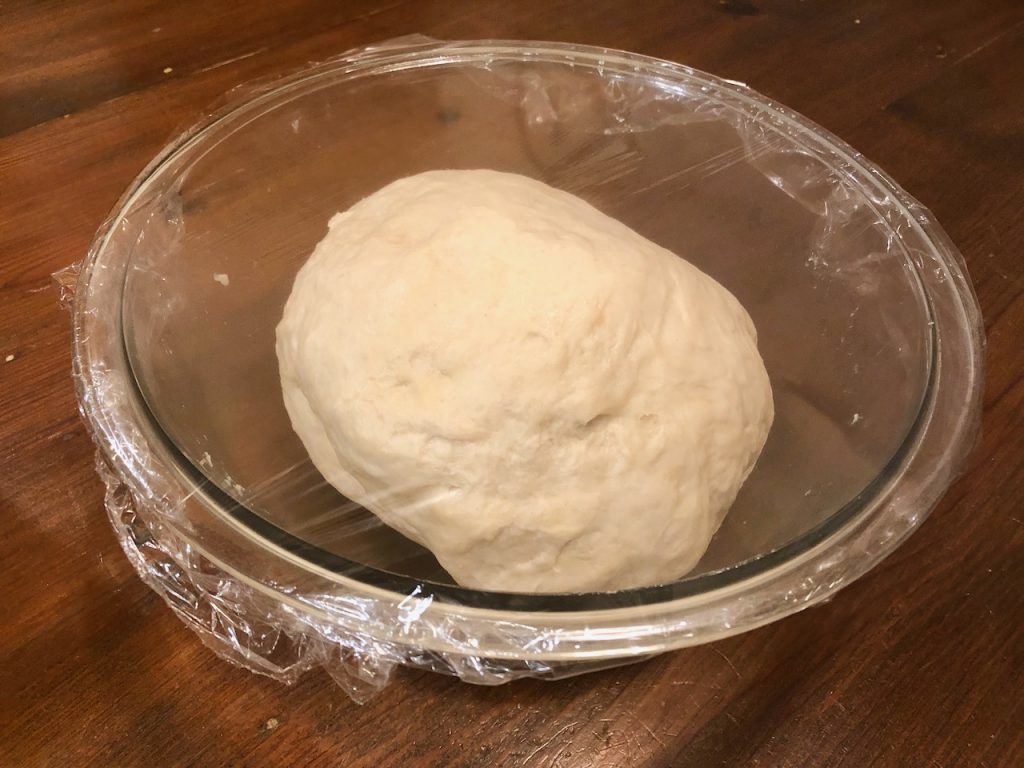
Cover the bowl and place in the fridge for 8 hours or overnight (up to 48 hours). I started making my dough late in the day and ended up putting it in the refrigerator at 11:00 pm at night. My days are upside down with all the craziness that’s going on! What day is it? What time is it? Your guess is as good as mine.
The next morning, I was worried that the dough looked slack and damp. But I waited for 12 hours and then removed it from the fridge. There was condensation on the inside of the plastic wrap, but it didn’t affect my dough at all. In fact, it looked pretty happy and felt smooth and pliant.
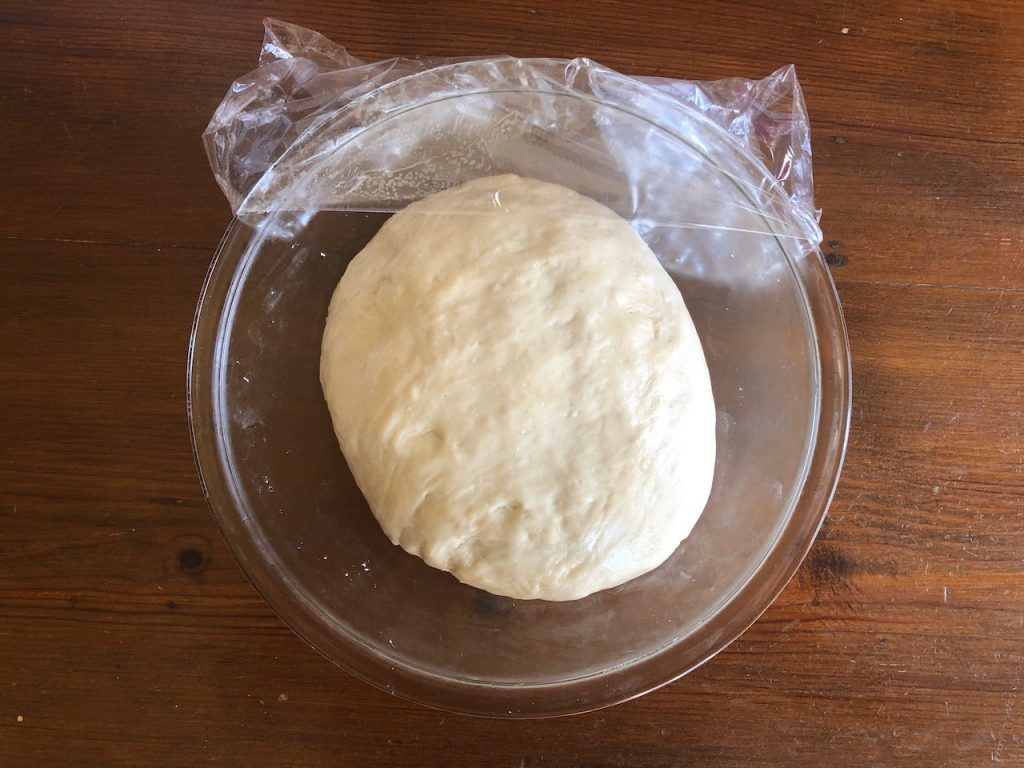
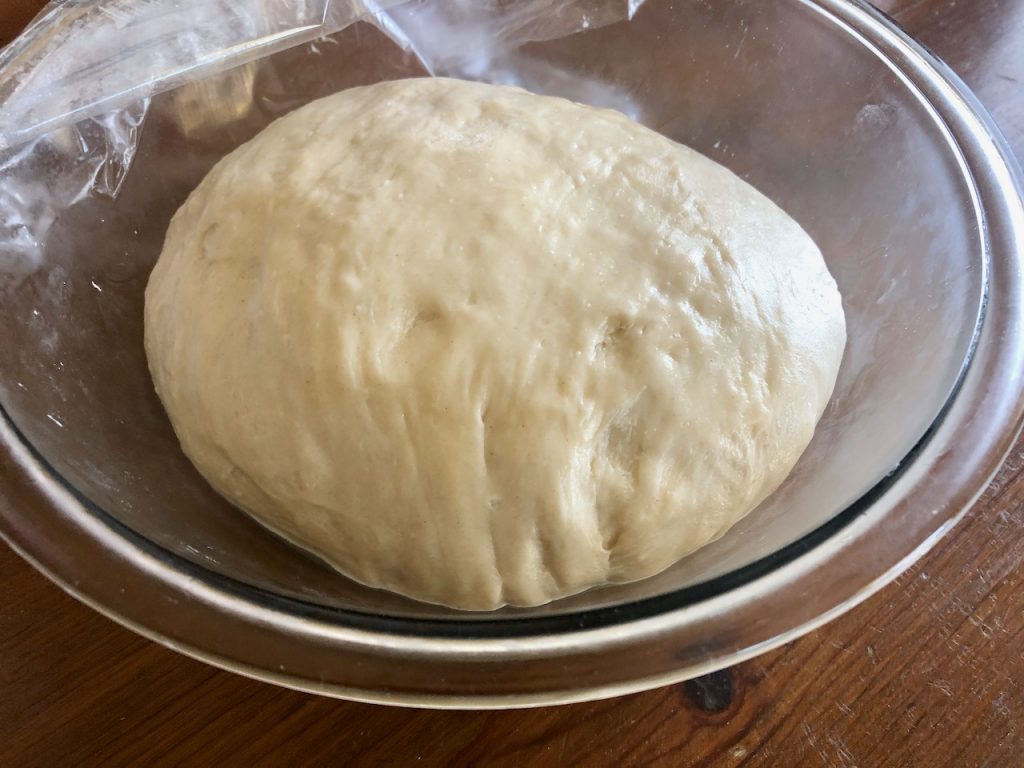
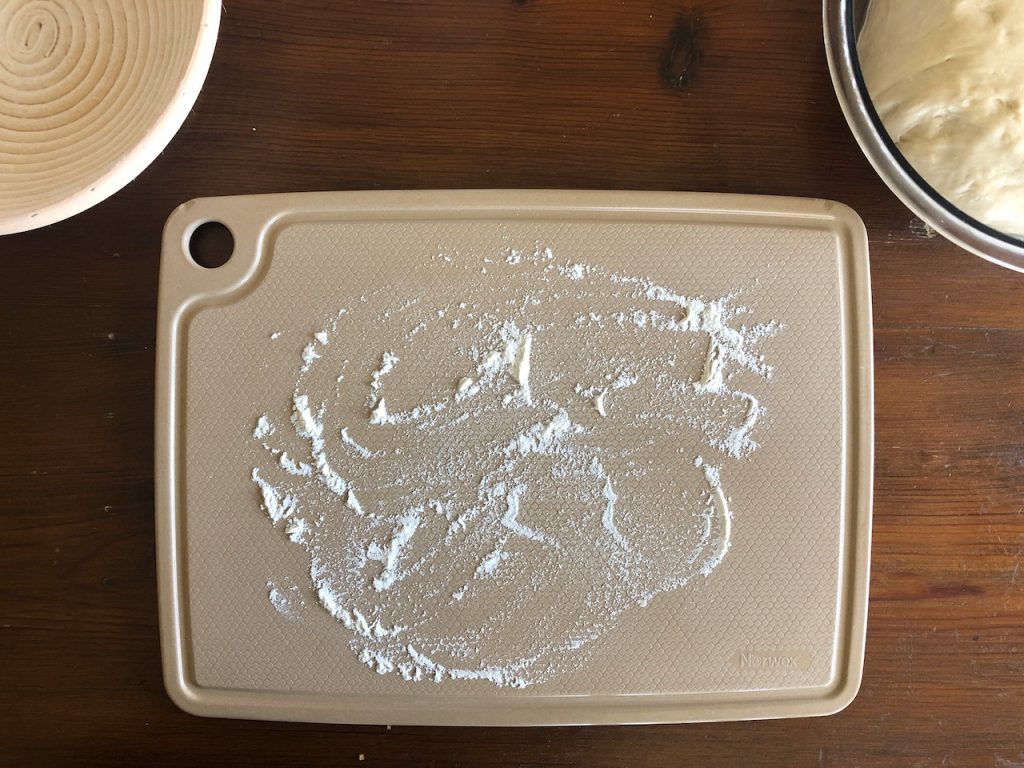
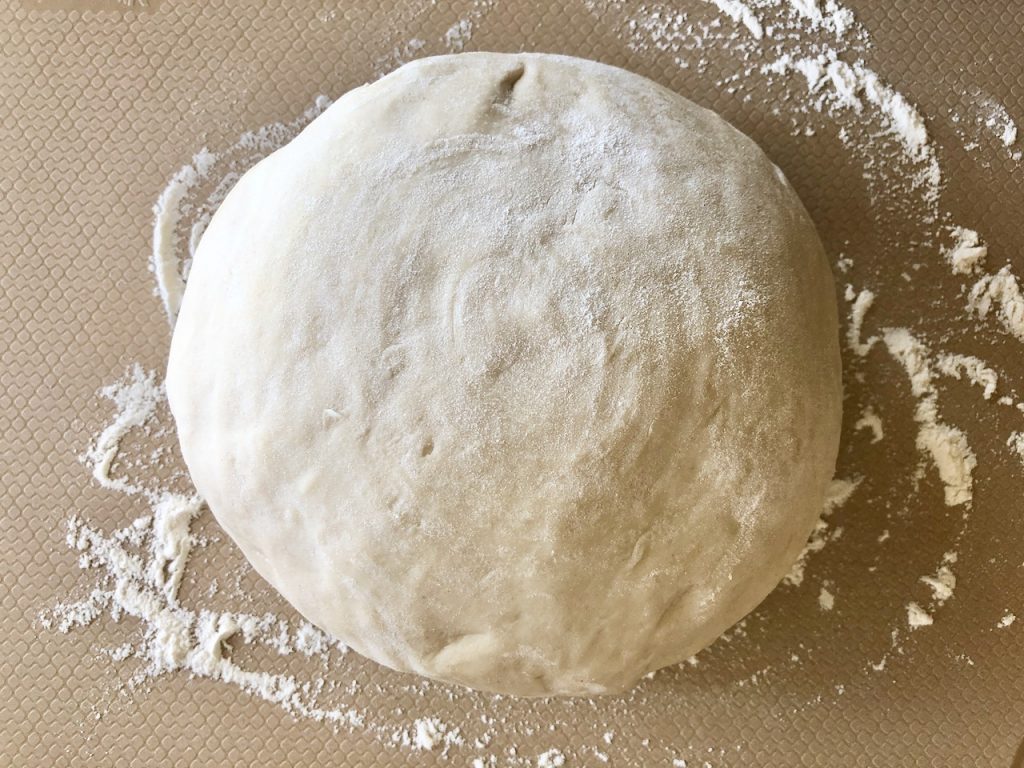
Turn the dough onto a floured surface and shape into a ball. Leave the dough on the floured surface. Cover and let rest for 1-2 hours.
Or, of using a floured proofing basket or banneton, place the dough ball inside (here’s the one I use). It has a cloth cover that you can use to cover the bread and/or proof the bread in the basket if you want a round shape without the lines. Place the dough in a warm area of your kitchen.
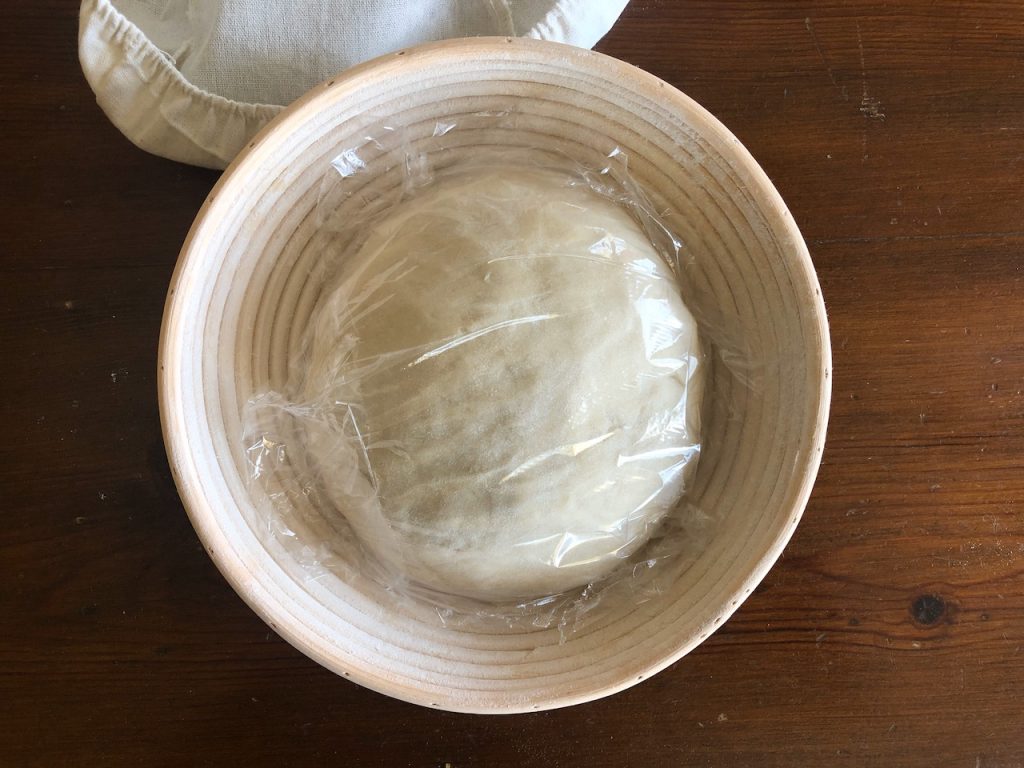
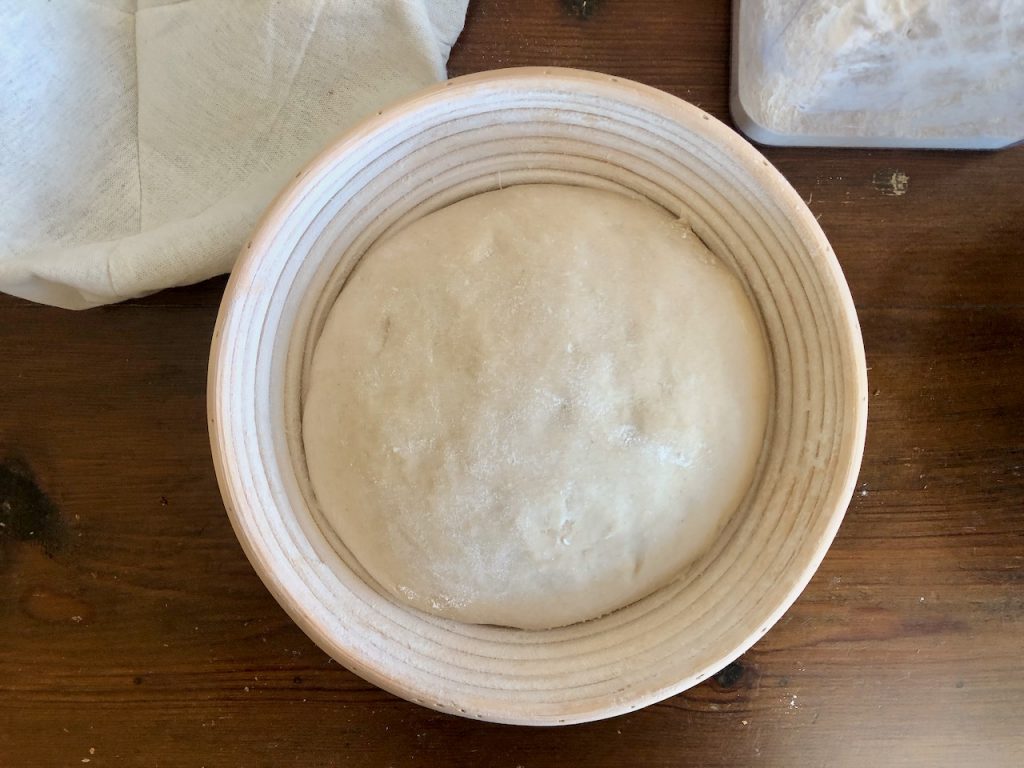
While the dough is resting, prepare a 6- to 8-quart Dutch oven or similar pot. Lightly grease the bottom of dust with fine cornmeal, or trim a piece of parchment paper to fit.
When the dough is ready, carefully turn it upside down onto the parchment paper or onto the bottom of the Dutch oven. I seriously heart those grooves! Cover with the lid and place in a warm area of your kitchen. Let it rise for 3 hours — the dough may not rise much but should relax.
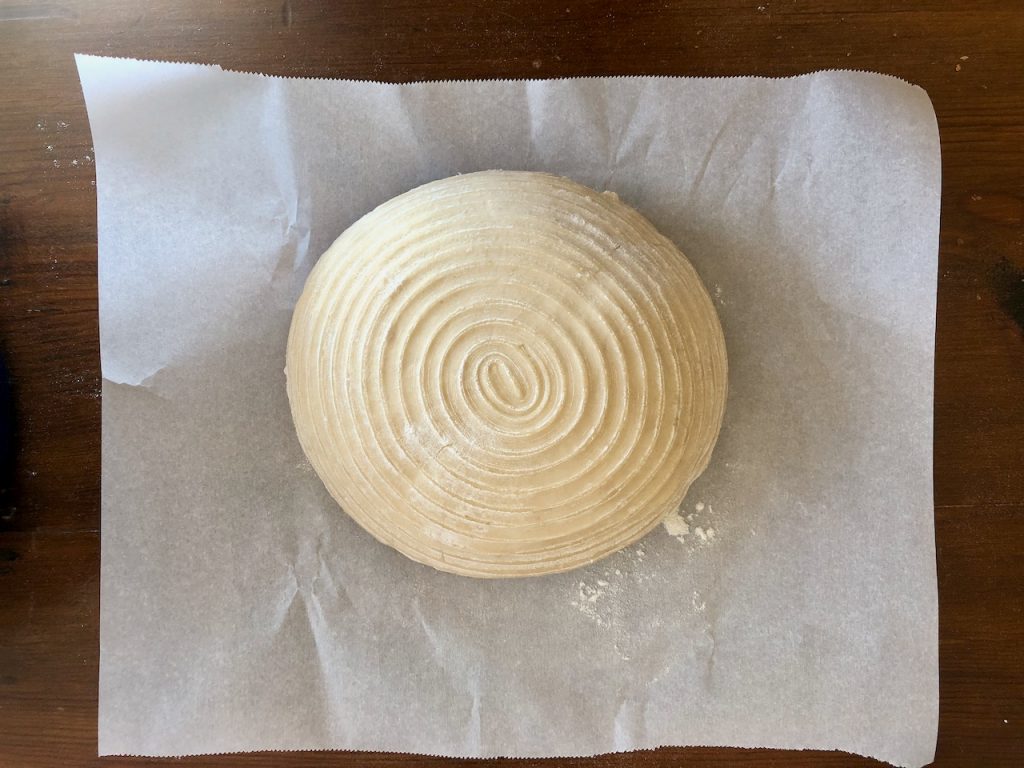
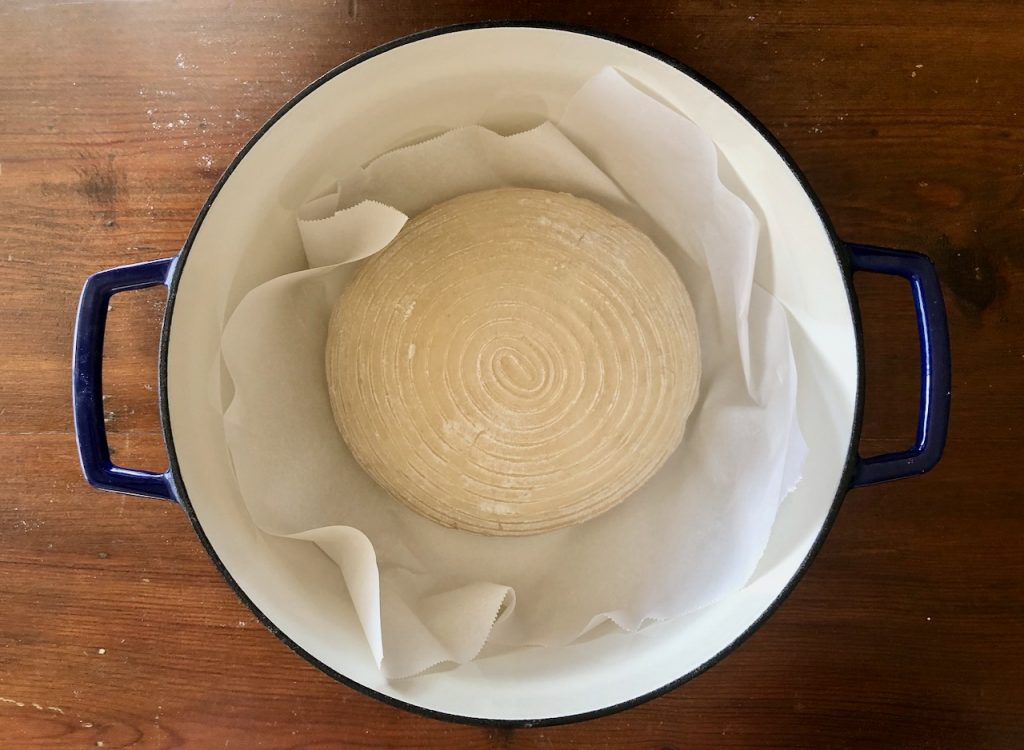
One hour before you’re ready to bake, preheat to 500° F (260° C). Adjust a rack in the middle of your oven (make sure there’s enough room for your Dutch oven to be in the center of your oven).
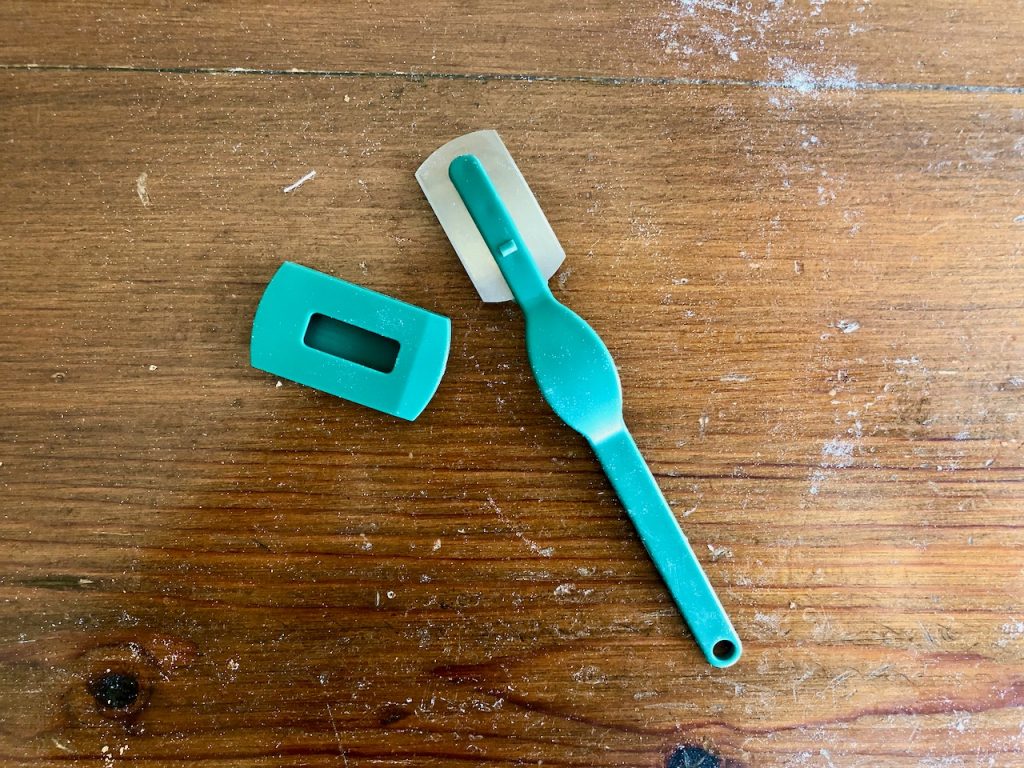
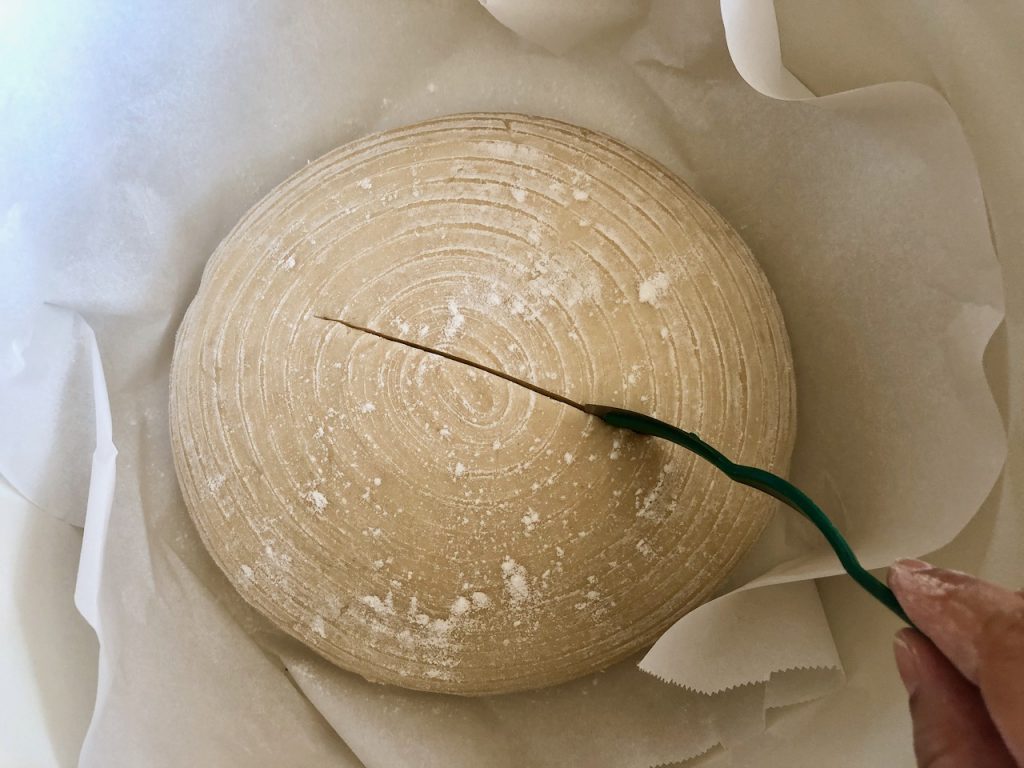
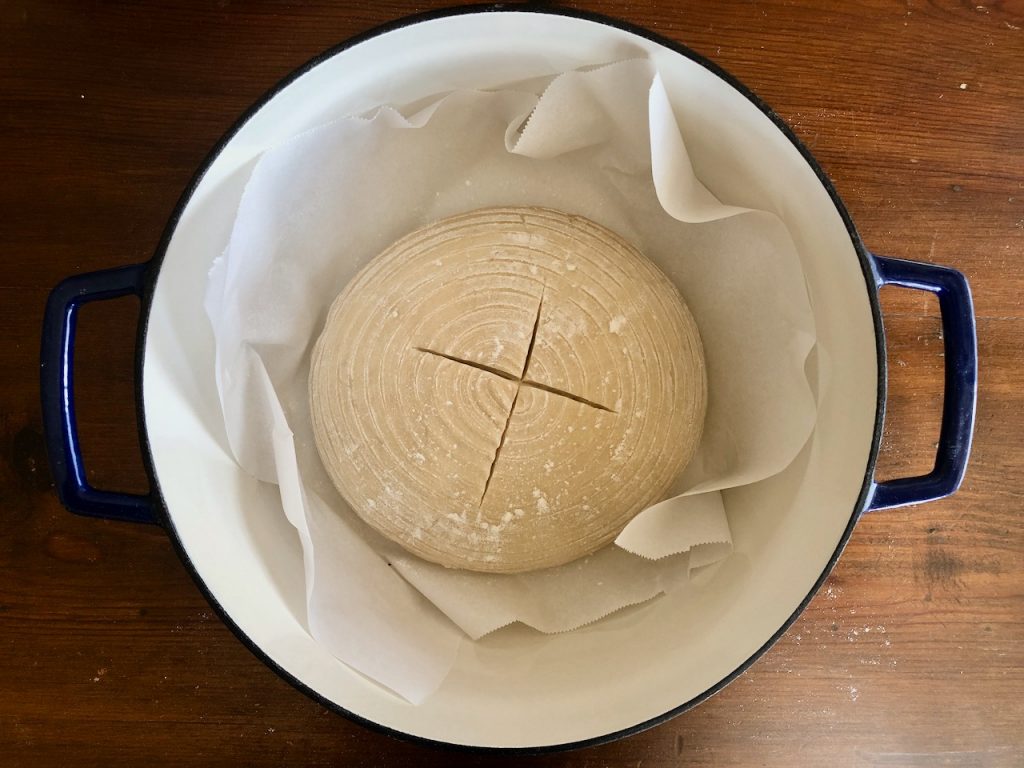
When you’re ready to bake, dusty to loaf with a thin coat of flour and use a sharp knife, scissors, or a lame (see the green razor-looking things below) to make several ½”-deep slashes on the top of the bread. Cover with the lid and place in the oven.
Reduce the temperature to 450° F (230° C) and bake the bread for 35-45 minutes.
Remove the lid and bake for an additional 5-15 minutes, or until the bread is crusty and a deep, gorgeous golden brown. If you have a digital thermometer, it should read at least 210° F (about 98° C) in the center of the loaf, but if you don’t have a thermometer, don’t worry about it (read below about tapping the bottom of your loaf).
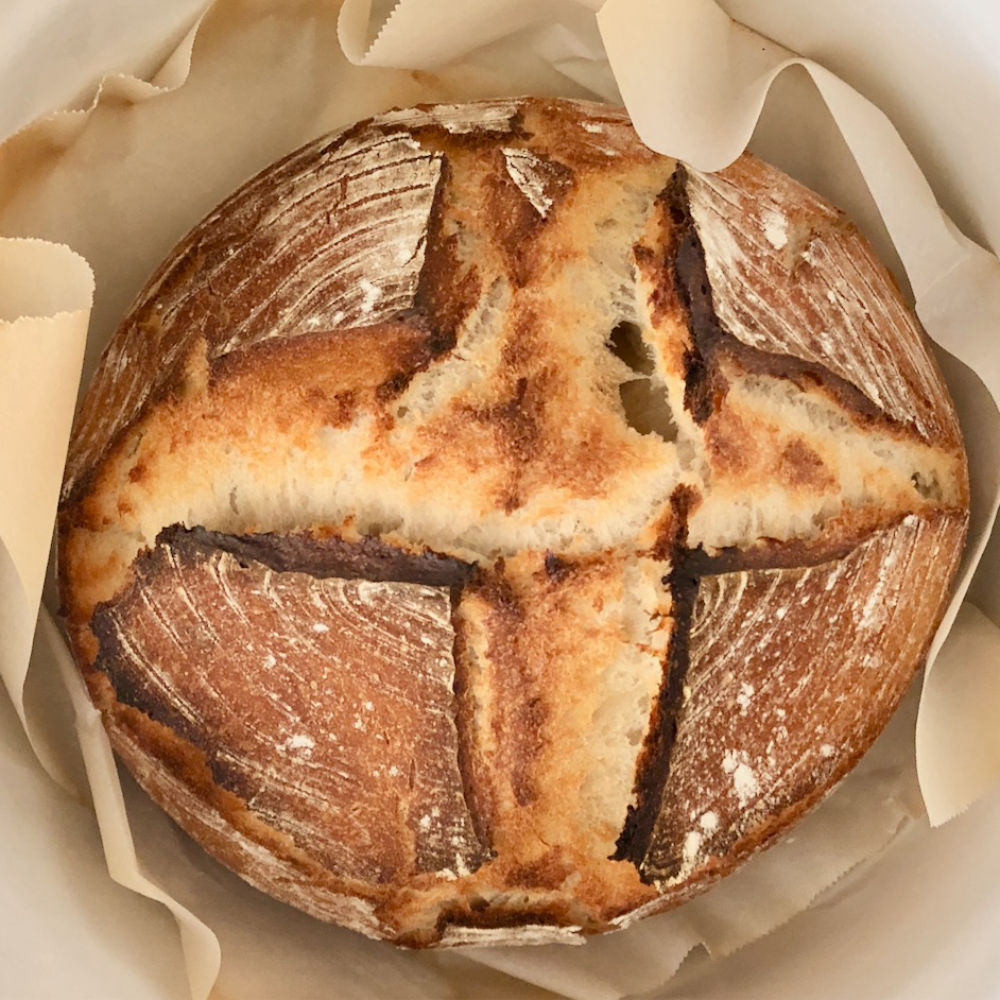
Carefully remove the bread from the oven. Transfer to a wire rack and allow to cool completely, at least two hours (yes, really). The bottom of the bread should make a hollow sound when tapped.
Note: I know we all love warm bread hot from the oven, but if you slice into this bread too early, the moisture will escape and the bread will dry out. It may also be gummy inside, which is one of those things you can’t fix once you’ve cut into the loaf. Let your bread finish baking outside the oven by letting it cool on its own. Diehard sourdough bakers sometimes wait up to 8 hours to let the flavors fully develop.
Storing your no-knead bread
Once cool, store the bread in a plastic bag at room temperature or freeze in a Ziploc bag for up to 3 months. You can slice the bread in advance if you only want to remove one slice at a time.
Softening or refreshing your no-knead bread
I’ve included some resources below, but one of the easiest ways to soften hard bread is to quickly spritz or dampen lightly with water (as in run it quickly under the tap) and then bake in the oven for 20 minutes at 350° F (177° C). I have also steamed it in a rice cooker/Instant Pot for 10 minutes and then toasted it in the oven.
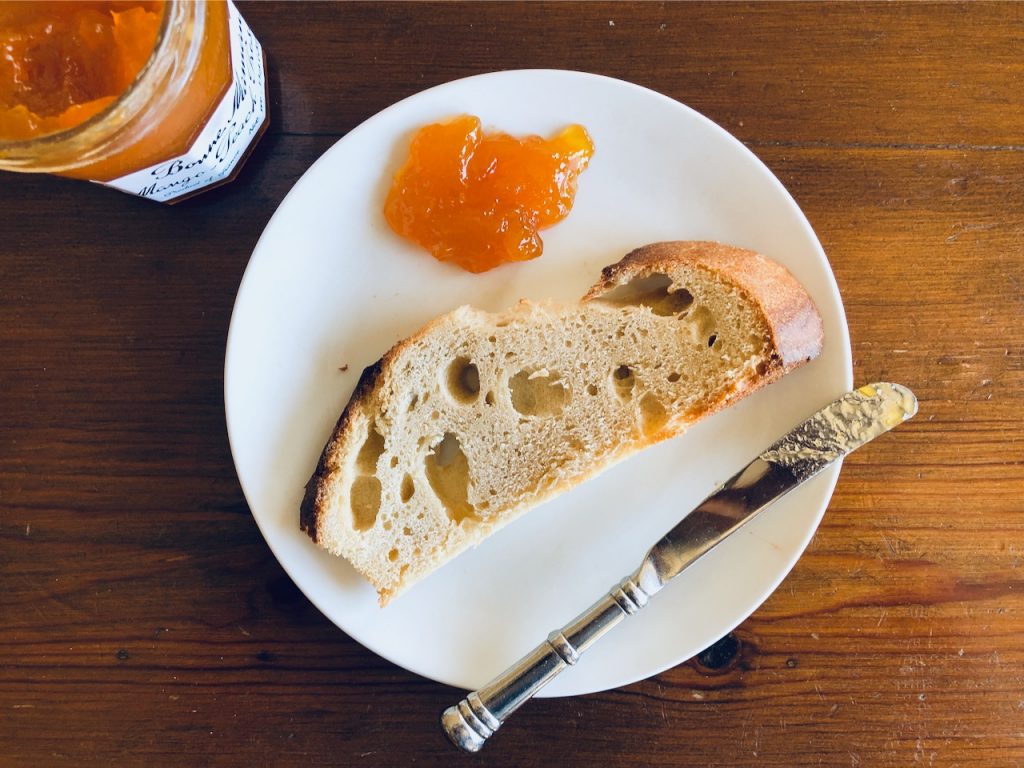
Amish Friendship Bread No-Knead Sourdough Bread
Ingredients
- 1 cup Amish Friendship Bread starter active, fed, and bubbly
- 1¾ cups water warm, plus extra as needed
- 5 cups flour plus extra for dusting (bread flour is recommended but all-purpose is fine)
- 1 tablespoon salt
Instructions
- In a large mixing bowl, combine starter, water, flour, and salt.
- Mix everything together to form a sticky, shaggy dough. You can add up to an extra ¼ cup water but shouldn’t need much more than that, just be patient and keep mixing. You can cheat and use a stand mixer if you have one — use the paddle attachment on medium speed for 30 seconds to a minute.
- Cover with plastic wrap and let it rise in a warm area of your kitchen for 1 hour.
- Carefully lift the dough and fold it over on itself a few times. The dough will feel pretty dense. It won’t look very pretty, either. Cover it again, and let it rise for 1 more hour.
- Repeat the fold-rise two more times for a total of 3 hours. The dough should have a nice smooth texture after the last fold.
- Cover the bowl and place in the fridge for 8 hours or overnight (up to 48 hours).
- The following morning (or 8-48 hours later), remove the dough from the fridge. Turn onto a floured surface and shape into a ball. Leave the dough on the floured surface. Cover and let rest for 1-2 hours.
- If using a floured proofing basket or banneton, place the dough ball inside (here’s the one I use). Place the dough in a warm area of your kitchen.
- While the dough is resting, prepare a 6- to 8-quart Dutch oven or similar pot. Lightly grease the bottom of dust with fine cornmeal, or trim a piece of parchment paper to fit.
- When the dough is ready, carefully turn it onto the parchment paper or onto the bottom of the Dutch oven. Cover with the lid and place in a warm area of your kitchen. Let it rise for 3 hours — the dough won't rise much but should relax.
- One hour before you’re ready to bake, preheat to 500° F (260° C). Adjust a rack in the middle of your oven (make sure there’s enough room for your Dutch oven to be in the center of your oven).
- When you’re ready to bake, dusty to loaf with a thin coat of flour and use a sharp knife, scissors, or a lame to make several ½” slashes on the top of the bread. Cover with the lid and place in the oven.
- Reduce the temperature to 450° F (230° C) and bake the bread for 35-45 minutes.
- Remove the lid and bake for an additional 5-15 minutes, or until the bread is crusty and a deep, gorgeous golden brown. If you have a digital thermometer, it should read at least 210° F (about 98° C) in the center of the loaf, but if you don’t have a thermometer, don’t worry about it (read below about tapping the bottom of your loaf).
- Carefully remove the bread from the oven. Transfer to a wire rack and allow to cool completely, about two hours (yes, really). The bottom of the bread should make a hollow sound when tapped.
- Enjoy!
Notes
- Use starter that’s frothy and bubbly. For Amish Friendship Bread starters, this means a starter that’s 24-48 hours after being fed.
- I know we all love warm bread hot from the oven, but if you slice into this bread too early, the moisture will escape and the bread will dry out. It may also be gummy inside, which is one of those things that you can’t fix once you’ve cut into the loaf. Let your bread finish baking outside the oven by letting it cool on its own. Diehard sourdough bakers sometimes wait up to 8 hours to let the flavor fully develop.
- Once cool, store the bread in a plastic bag at room temperature or freeze in a Ziploc bag for up to 3 months. You can slice the bread in advance if you only want to remove one slice at a time.
- One of the easiest ways to soften hard bread is to quickly spritz and run under water and then bake in the oven for 20 minutes at 350° F (177° C). I have also steamed it in a rice cooker/Instant Pot for 10 minutes and then toasted it in the oven.
Resources
- Jim Lahey’s original No-Knead recipe (with commercial yeast): https://cooking.nytimes.com/recipes/11376-no-knead-bread
- King Arthur Flour’s No-Knead sourdough recipe (starter only): https://www.kingarthurflour.com/recipes/no-knead-sourdough-bread-recipe
- Test your bread for doneness: https://www.cooksillustrated.com/how_tos/5719-testing-bread-for-doneness
- Why you should let your bread cool before slicing into it: https://food52.com/blog/14727-why-you-should-resist-the-urge-to-tear-into-hot-bread
- Bread getting stale? How to soften hard bread: https://www.thekitchn.com/how-to-soften-hard-bread-138150
- Love a pretty loaf? Buy an OVAL proofing basket kit
- Love a pretty loaf? Buy a ROUND proofing basket kit
>> Have you tried this? Give the recipe some stars and leave a comment below to let me know how it worked for you!
My starter is only three ingredients. Water, sugar and dry potato flakes. No flour, until the starter is used in a recipe. Anyone else using potato flake starter with any success?
I tried this recipe earlier this week and the flavor was great, but it turned out SUPER dense. Any idea what I could have done wrong? I am planning to try again next time I feed my starter, so would love some feedback.
How would this recipe differ Baki my wise without a Dutch oven?
Love this recipe! I had no idea what I was doing, but it still worked!
If I don’t have a proofing basket or banneton, should I use a plain bowl?
Love this recipe! I used it last week in my first try at making sourdough bread. I even bought myself a Banneton basket as I love those lines! I brought the loaf to a campout and re-warmed it on a grate over the firepit. It was gone in minutes! Everyone went back for a second piece! Today I am making another loaf. It is almost at the end of the rising time and I can’t wait to put it in the oven and enjoy! Thank you!
I have made this bread twice and I love it! The flavor and texture is amazing! However, both times I’ve made it, in order to get the inside fully baked to 210, the bottom of my bread has scorched. I’ve followed the recipe to a T, but maybe I just need to lower the temperature of the oven? Any other ideas?
Hi Megan! Here’s a great post about baking with dutch ovens and preventing the burning on the bottom: https://kneadrisebake.com/how-do-i-keep-my-bread-from-burning-on-the-bottom-in-a-dutch-oven-3-simple-solutions/ Let us know if it helps or you have any other questions!
I love the recipes on this site! I’ve made many.
Can I use frozen starter for this bread? If so, what do I do?
Thank you for your creativity!
Hi Wendy! Because this recipe is a more traditional artisan bread, it requires the starter to do more of the “heavy lifting” of the bread. Because of this, it is important that your starter is super active and doubling in size after you feed it before you use it. If you’re taking a frozen starter out of the freezer to use, we’d recommend going through several ten day cycles or until your starter is extra active before using it in this recipe.
Let us know if you have any other questions!
Good Morning, You ladies are wonderful sharing your wonderful
recipes, i use them a lot and have yet to be disappointed
Will make this bread this coming week
Sincerely
Hi Brenda! Thank you for your kind words. We love to hear that! ❤️
Love this recipe, thanks so much! There are a couple spots that are doughy and soft after it was baked. Is this okay to eat? Thank you! 🙂
Hi Suz! Yes, it should be fine to eat! You could also bake it for slightly longer if you find it undercooked.
“Repeat the fold-rise two more times for a total of 3 hours.” Is this 3 additional hours? Or 3 hours total from the start?
Also, can I bake this in a cast iron dutch oven?
Thanks! Really enjoying making all the variations you’ve shared!
Hi Donna! It’s three hours total from the start. And yes, your dutch oven should be cast iron, so that will work perfectly! Happy baking!
When I take it out of the oven to cool do I take it out of the Dutch oven? Place on the rack on its own or do I leave it in my little Dutch oven?
Hi Sharon! Remove the bread from the Dutch over before you place it on the rack and let it cool for two hours. Happy baking!
I make this bread every time I make the starter. A fabulous recipe and boy does it taste good.
We love hearing this, Linda. Thanks for sharing!
What is the purpose is preheating for a whole hour? Our gas oven gets to temp pretty quickly, even a super high temp like 500°.
Hi Emily! As long as your oven is preheated to the right temperature, it should be fine!
Was looking to do something other than AFB. Fed starter with 1/3-1/2 cup sugar and it bubbles up just fine. It never has passed the float test and works fine. Bread has been delicious, and this recipe is pretty easy except for the time factor – so – you have plan on mixing dough the day before you bake it. Each time my dough has been softer and stickier than pictured in recipe, have added approx total of 1/2 cup flour (all bread flour) to edges each time with the initial rest and fold. Dough does not hold its shape through overnight, or next day resting prior to bake. Baked in Le Creuset dutch oven, dough covers entire bottom. It has a nice rise with small air pockets all over and good chewy consistency. It does not have the domed shape and big air pockets in picture. Would like picture perfect, on the other hand, the finished bread is consistently good, don’t want to mess with it and get lead sinker. Any ideas?
I don’t have any advice, just camaraderie. I’ve been having the same issues as you are. My bread is currently sitting in the dutch oven, and it’s just a big blob, instead of a nice round ball.
You have to feed at the proper ratios of 1 cup starter to 1 cup flour, 1 cup milk, 1 cup sugar. Just because the starter bubbles/responds to a lesser amount of ingredients does not mean that it has enough rise power for a large loaf of bread. What is the air temperature in your kitchen? You need a warm kitchen for the starter to be both active and healthy — adding sugar feeds the starter, but the starter needs to be robust on its own and traditional sourdough starters don’t use sugar at all. A starter responding to sugar does not necessarily mean the starter is active and robust.
If your dough ball is a blob, then there’s no structure, which means the starter is not providing enough lift in the dough. Check the temperature in your kitchen, but most importantly, make sure your starter has been properly fed at the correct ratios, and is active the day you use it (bubbly on its own, up to twice in volume). Good luck!
My issue is exactly the same the first time I assumed my starter wasn’t great but the second it was frothy and beautiful and I thought for sure it would turn out great! It looked pretty good coming out of the cold proof but then after rising the hour it went back to a big blob and its not getting enough of a rise.
Are there any other things I could tweak? Its like it needs more flour but I don’t want to mess up the ration and make it taste too floury.
Hi BJ!
If you’re using it when the starter has almost doubled (not just frothy) and it’s been fed in the past few hours, and your kitchen isn’t too cold for the non-fridge rises, and you’re confident everything else is fresh, then I’m not sure what else could be going on. We’ve made this recipe several times so we know the recipe works, but sourdough (and AFB is a type of sourdough) can be finicky, and it does take time to get it right. The float test isn’t super reliable, especially for AFB, but you try that and if the starter sinks like a stone, it’s definitely not ready.
When did you feed your starter, and how long was it before you used it in the recipe? Are you feeding it at the proper ratios? If you’re not feeding it at the proper ratio, you may see bubbles, but there won’t be enough yeast to make the bread rise.
So if I use starter that is 24 hours after feeding and it’s bubbly and frothy on the top, do I mix it and then use 1 cup or use just whatever is on top? Thanks!
Hi Sharon! Yes, you should definitely give a good stir before you take the cup out to put in your recipe!
this is a great recipe!!! I was a bit nervous to try this because it seemed a bit complex, but my bread turned out great 🙂 I did skip the sugar for 2 feedings (so just 1 cup flour and1 cup milk) before I made the sourdough loaf, and the bread was not sweet at all it was perfect!
That sounds delicious, Maggie! So glad it turned out for you!
When converting some of my Amish friendship bread starter to a less sweet starter (as mentioned above) you say to omit the sugar. So should I just add equal amounts flour and milk or should I double up on the flour?
Hi Karen! You can continue to add equal amounts of flour and milk! Here’s the recipe for the starter with no added sugar: https://www.friendshipbreadkitchen.com/afb-starter-sugar-free/
Nope.. maybe it was my starter, maybe it was the pan I used to bake it it. Maybe I didn’t start it at the optimum time for my starter, too much flour, too little. . . whatever.. even the dog won’t eat it.
So, first, let me just say thank you for this recipe! It was delicious! I was looking for a no yeast sourdough recipe bc I got gifted Amish friendship bread and starter, but I didn’t actually like the bread much, so I was looking for something else to do with it! I didn’t follow your recipe 100%… I used about half wheat flour, didn’t follow your folding/resting process dutifully, and didn’t refrigerate, just let it stay out on the counter, but it was still delicious! Now to try and take better care of that starter…
Whatever works, that’s my motto! So glad it was a success! 🙂