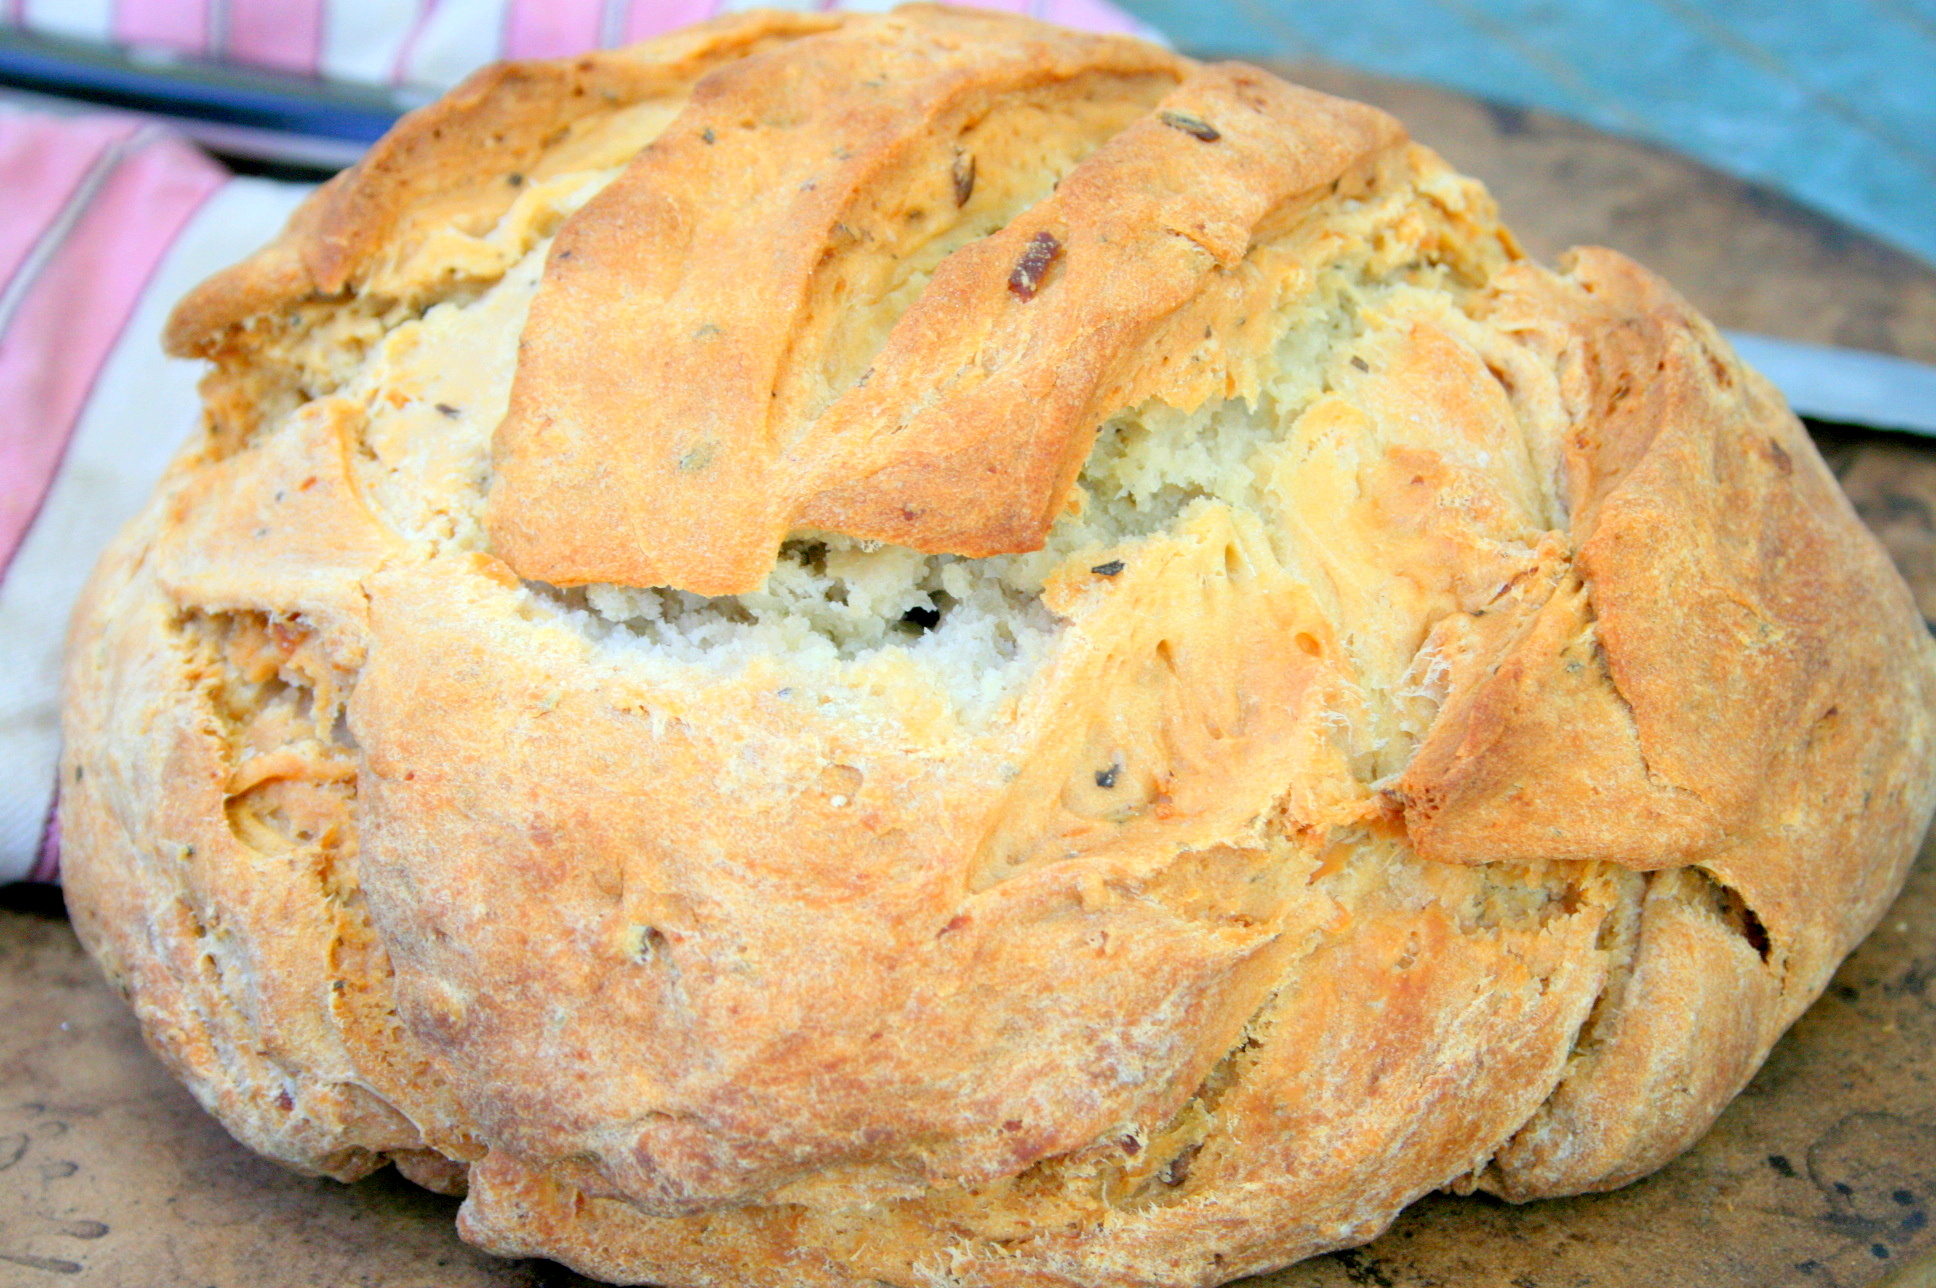
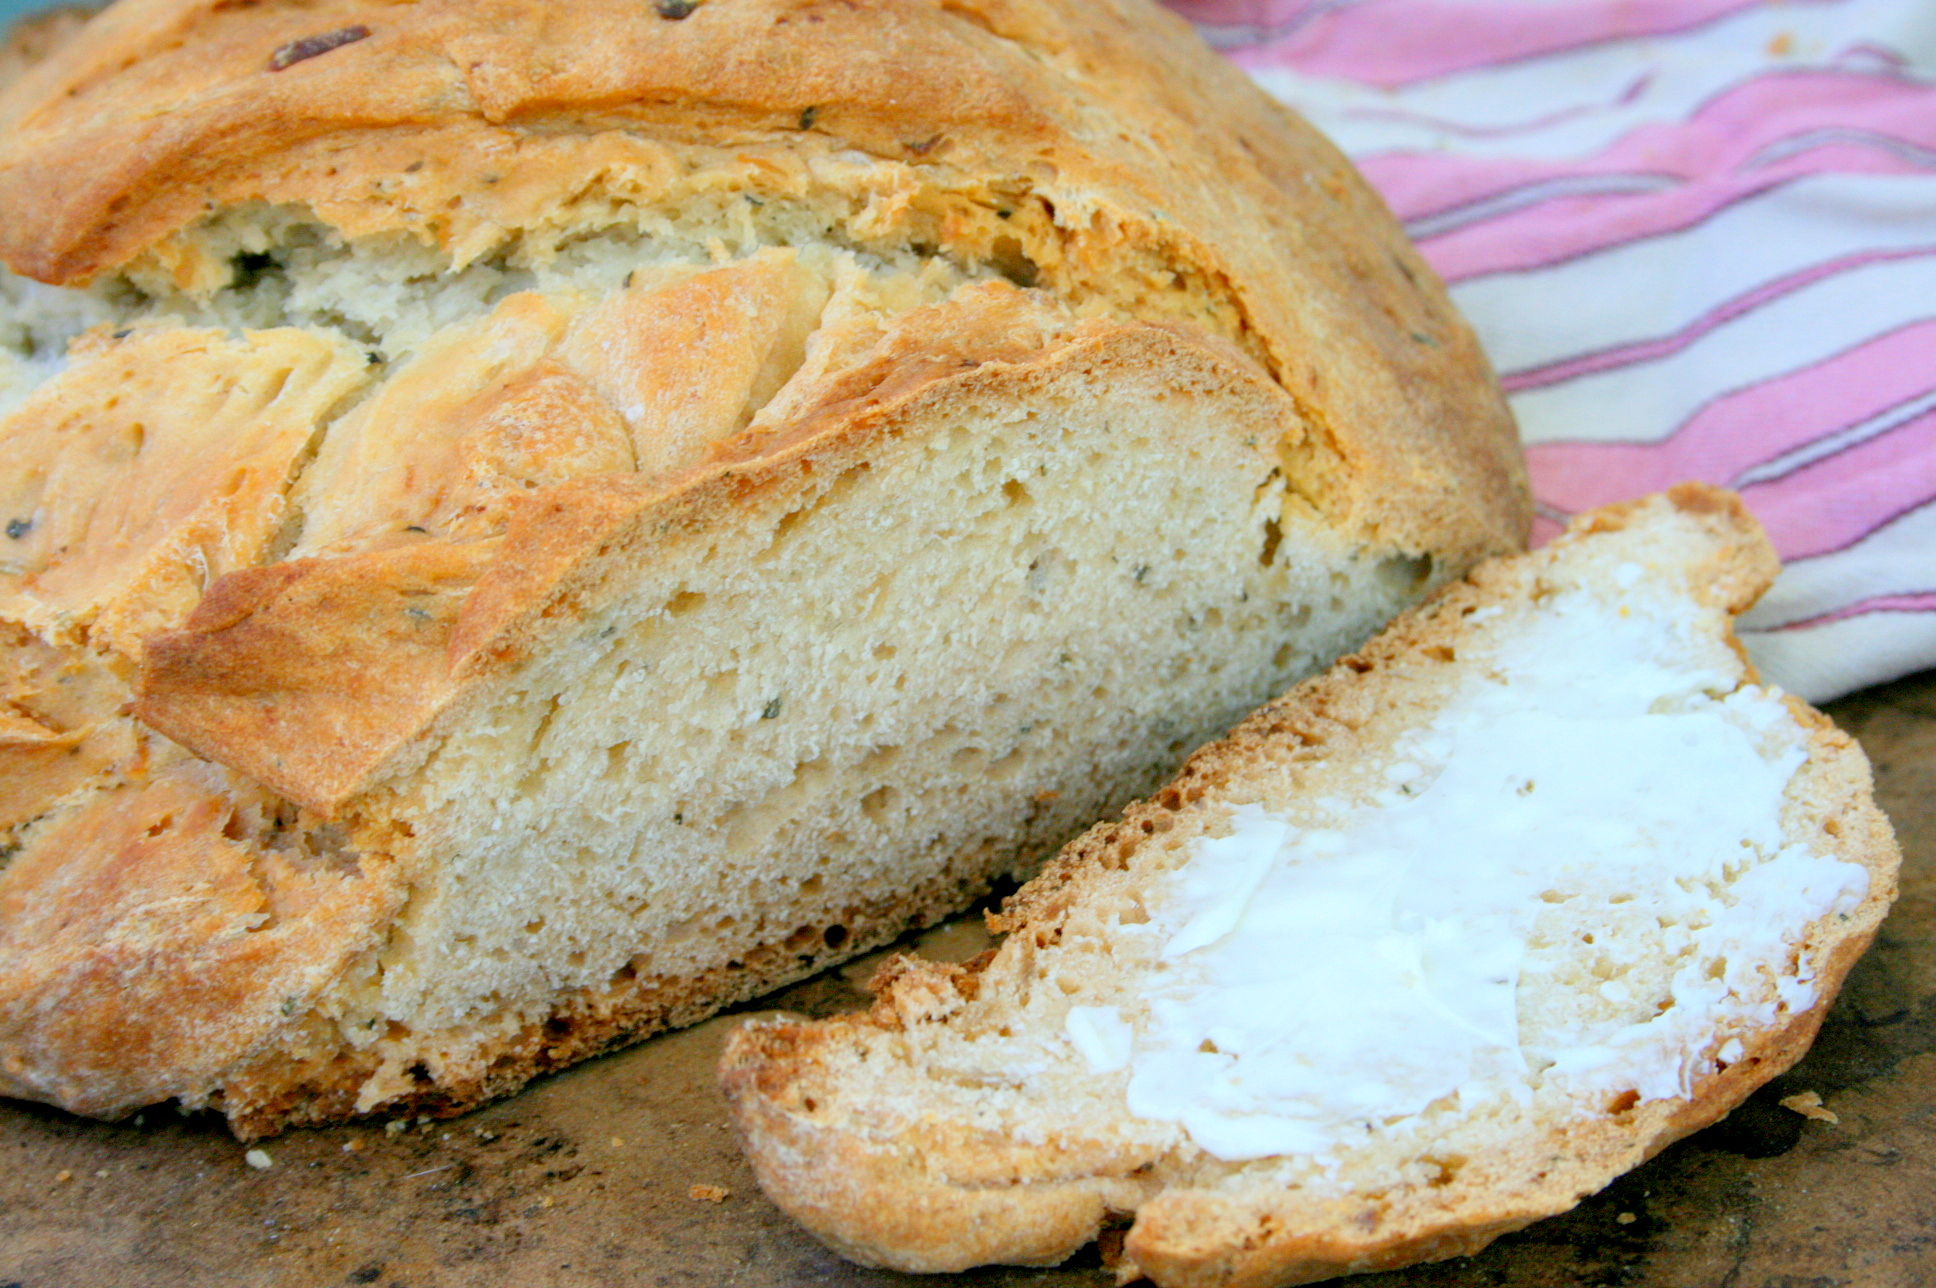
Rustic Potato Amish Friendship Bread is a favorite recipe that’s soft on the inside and crusty on the outside and perfect for sandwiches!
The rise time for this bread is very flexible. We baked a loaf after 6 hours of rise time and another after 12 hours of rise time, and both turned out the same.
This bread is a great way to use up those leftover potatoes in your fridge. You can also get creative with your seasonings and flavors. Instead of basil and garlic, experiment with other seasonings.

You can also experiment with different add-ins like bacon and cheese to make this bread the perfect loaf for your family dinner. Or toast it and slather it with this caramelized onion jam.
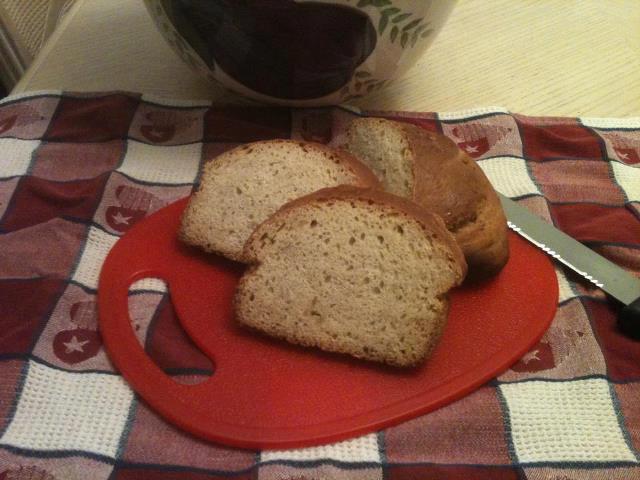
Kitchen Friend Josefine Burkholder added her own fun twist to this recipe: “I decided to bake this in loaf pans. My family especially enjoyed this buttered and grilled on the cast iron.”

Rustic Potato Amish Friendship Bread
Ingredients
- 2 cups Amish Friendship Bread Starter
- 1 cup warm milk
- 1 teaspoon sugar
- 1 teaspoon baking soda
- 1 teaspoon salt
- 1 cup potatoes cooked
- ½ cup butter melted
- 1 teaspoon basil
- 1 teaspoon garlic powder
- 6 cups flour
- olive oil as needed
Instructions
- In a large mixing bowl or stand mixer, add all the ingredients except flour.
- Mix until just all the ingredients are combined.
- Slowly add in one cup of flour at a time until the dough is no longer sticky.
- Lightly oil a new bowl, place in dough, drizzle with more oil and cover with a towel.
- Let dough rise for 6-12 hours.
- Punch down dough and bread into two.
- Shape into rounds or ovals.
- Place on baking stone or baking sheet.
- Preheat oven to 400° F (200° C).
- Bake at least 50 minutes and one loaf at a time.
- ENJOY!
>> Have you tried this? Share your best pic with us or leave a comment below and let us know how it worked for you!


I enjoy making this recipe and several other sour dough style breads on this website. After several months of baking weekly I have learned this recipes with potatoes or a sour dough style is better if made in advance and left to raise in the refrigerator. I will bake half the dough then leave the other half for 3-5 days in the refrigerator. I remove dough from fridge allow it to warm enough to shape into a loaf. Cover and allow to raise usual 3-4 hours. When stirring up my dough I ALWAYS ADD 2tsp yeast to my bread so that I’m insured a good active dough.
I let this rise almost 18 hours and the dough doubled. After I divided the dough into 2 rounds, I let it rise again for one hour while my oven pre-heated. The bread turned out wonderfully! It did sort of “explode” a bit on the top, so next time, I will make a slash on the top before putting in the oven. The crumb was wonderful; perfect for sandwiches and toast. Wish there were a way to attach pictures to these posts so you could see the results. It seems like a long time for this bread, but it’s very little hands on time and the end result is well worth it.
Hi Karen! We’re so glad it turned out for you! We love bread success stories! And feel free to post your pictures on our group Facebook page, if you took any: https://www.facebook.com/groups/amishfriendshipbread
This one looks good. I’ve never made an Amish bread or a Sourdough bread before. I’m interested in trying it out
I followed all of the instructions, but this bread did not turn out for me. 400 seemed to be much too hot, as my outer crust got really dark before the inside was done. I also had trouble getting it to rise, even though I have a very active starter and haven’t had any issues with rising before. It’s a shame that it used so much in terms of ingredients and didn’t turn out.
Mixing it up, however, was pretty easy. And the parts that turned out okay were pretty good. I think the time/temperature needs to be adjusted for this to be a successful recipe.
Hi Emily! I’m so sorry to hear this! We’ve made this several time with great results, and it sounds like you did everything right, so I’m no sure what happened other than to say that the traditional bread/sourdough recipes aren’t as foolproof as the sweeter versions. It takes time to get it right, both with your oven and the recipe (and the temp in your kitchen), and sometimes recipes fail. I’ve put this on my list to have it tested again and keep you posted.
I haven’t even got my first starter to day 10 yet and I LOVE this site.
Hi Carmen! Welcome to the Friendship Bread Kitchen! Can’t wait to hear what you end up baking!
This looks delicious! I’d love to make it for my mom and husband!
This bun looks beautifully done. It is just the perfect color for the right amount of coarseness. I will have to try the recipe on my own, but the images you have used to depict the result make it very appealing. Thank you
This turned out great -hubby ate it all. Took a long time though but Im glad I tried it. Will stick to easier recipes in future!
Is the one cup of cooked potatoes mashed or do you just add them in the cut up size that you boil them in?
I made this today and it was really tasty! It didn’t really rise though. I left it for about 7 1/2 hours and it had barely risen at all. So I just went ahead and baked it. I did it in bread pans. And it was very tasty both with butter or with cheese melted on a slice. I also used one cup of whole wheat flour.
Did you grease your bread pans? I like having the “regular” bread shape for sandwiches.
When you say to use “starter,” do you mean ‘after’ it is fed before divy-ing up? Right before I make my usual bread, I add flour, sugar and milk and then divide up into 4 bags with 1 cup of starter in each and then use my remaining starter that has just been fed.
Been using this recipe and baking as many as 4 loaves in one baking. Just fine. Nice bread.
can this be made with gluten free flour? if so, what changes need to be made? Thanks
Sounds so yummy! I can’t wait to try this one!
@Laura–I copy and paste the recipe into my Word document and print it from there. Might this help you?
How long should the dough bake? thanks–I agree, great site!
Never mind–I found the cook time at the top of the page!
Can’t wait to try this! Would love it if you would have print capability for recipes on each page with the recipe… is that doable?
Great site, thanks for hours of fun baking… and eating! 🙂
Laura, you might also try highlighting the recipe, then right click. An option to print should come up. Hope this helps. I can’t wait to try this bread too!