Now that you’ve made a traditional sourdough starter, and have watched it rise and fall with each feeding, you’re ready to make your very own loaf of sourdough bread, also known as a boule.
This recipe is simple and ensures you achieve a perfect loaf every time. “Boule” is French for “ball” which is the classic shape you’ll get if you bake your loaf in a Dutch oven. You can guarantee your dinner guests and family will be impressed!
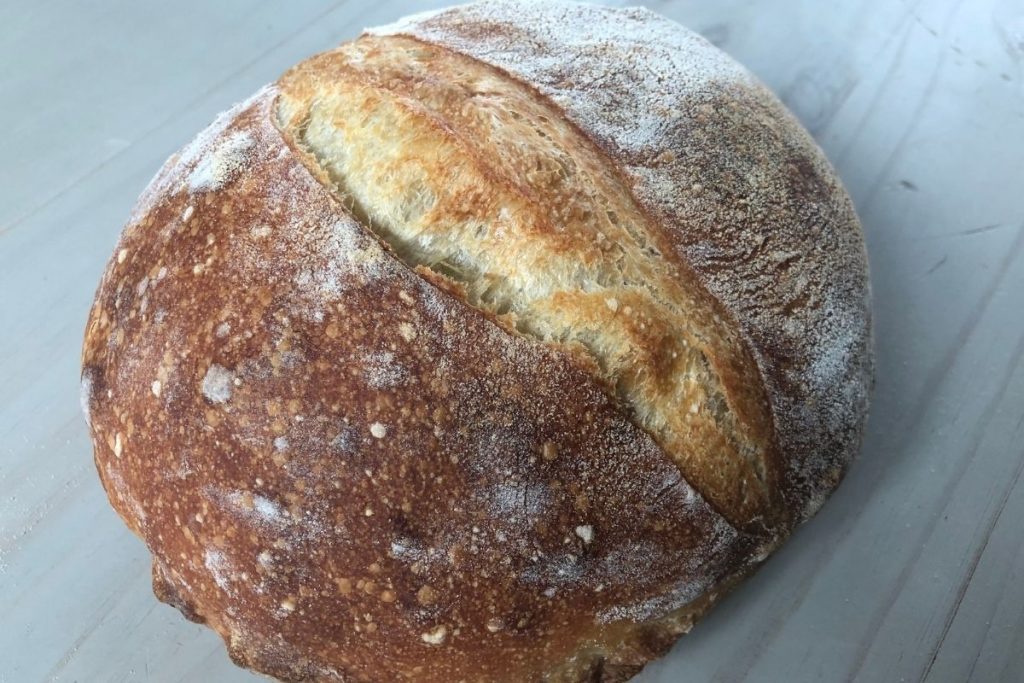
How to Make a Sourdough Boule
There may seem like a lot of steps, but it’s worth it in the end and after a few loaves, you’ll be a pro. Take your time to read through the entire set of instructions before beginning, and get all of your equipment set out.
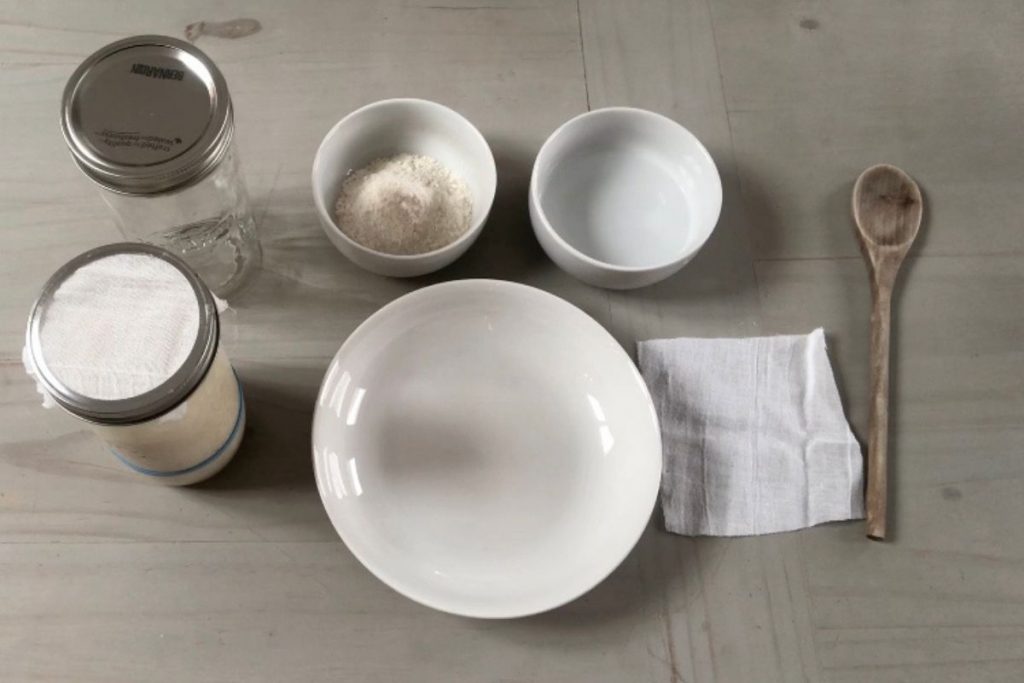
Step 1: You’ll be making a levain. A levain is another word for a recently fed starter, used mostly when referring to a traditional sourdough starter — we don’t use the term with Amish Friendship Bread making. By taking 3 tablespoons of your healthy starter and feeding it at the right ratios, you will have your levain to make your sourdough bread.
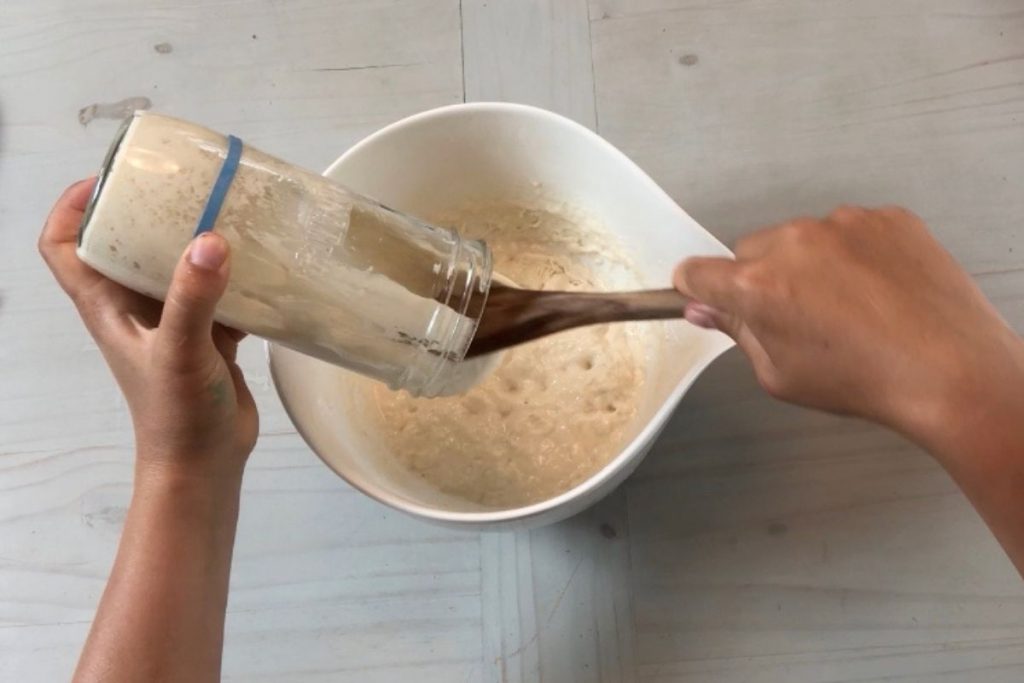
Steps 2 and 3: Mix up the remaining flour and perform a float test. (Amish Friendship Bread bakers, the float test doesn’t generally work for AFB). You can learn more about how a float test works at the King Arthur website, but basically it’s a way to make sure your starter is ready to be used for baking. A lot of traditional bread recipes fail because a starter isn’t ready, which generally means there isn’t enough rising power in the starter to give your recipe the lift it needs.
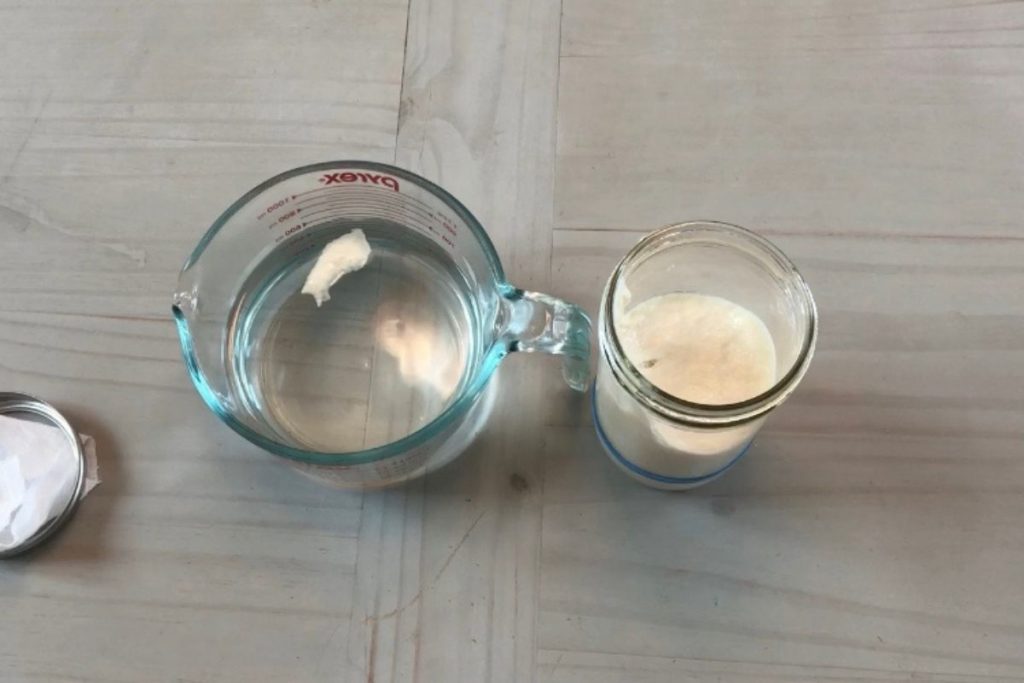
Step 4: This next step takes about 4-5 hours, but it’s mostly waiting. You’ll want to do sets of stretches and folds of the dough to keep things moving while it ferments. For step-by-step instructions, check out the recipe card below. And yes, your hands will get sticky, LOL!
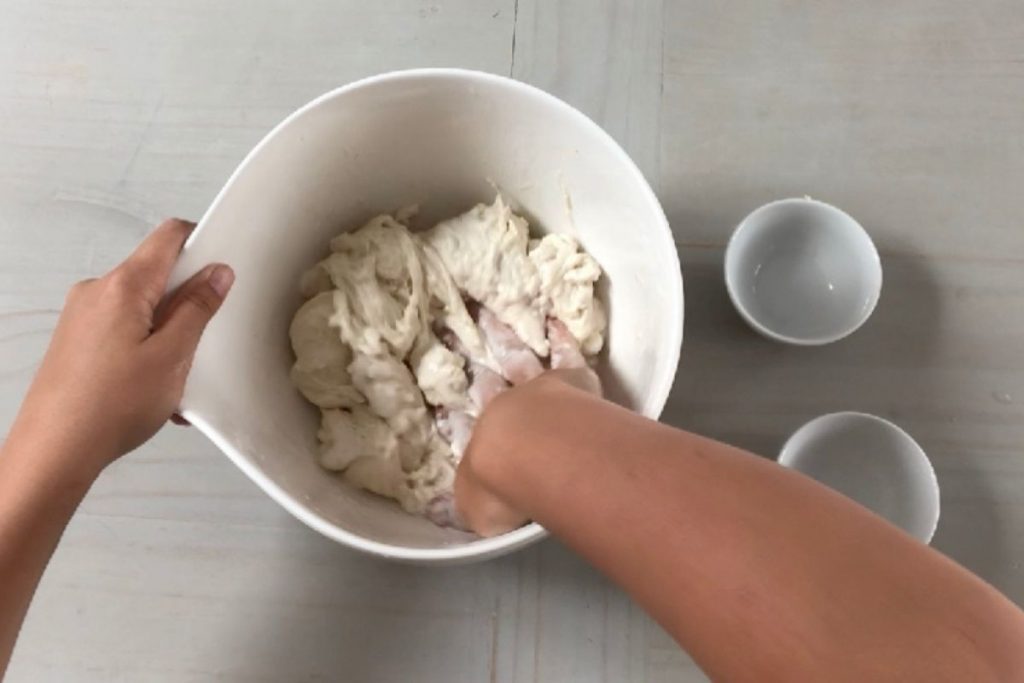
Step 5: Once the dough is ready, it’s time to start shaping your loaf.
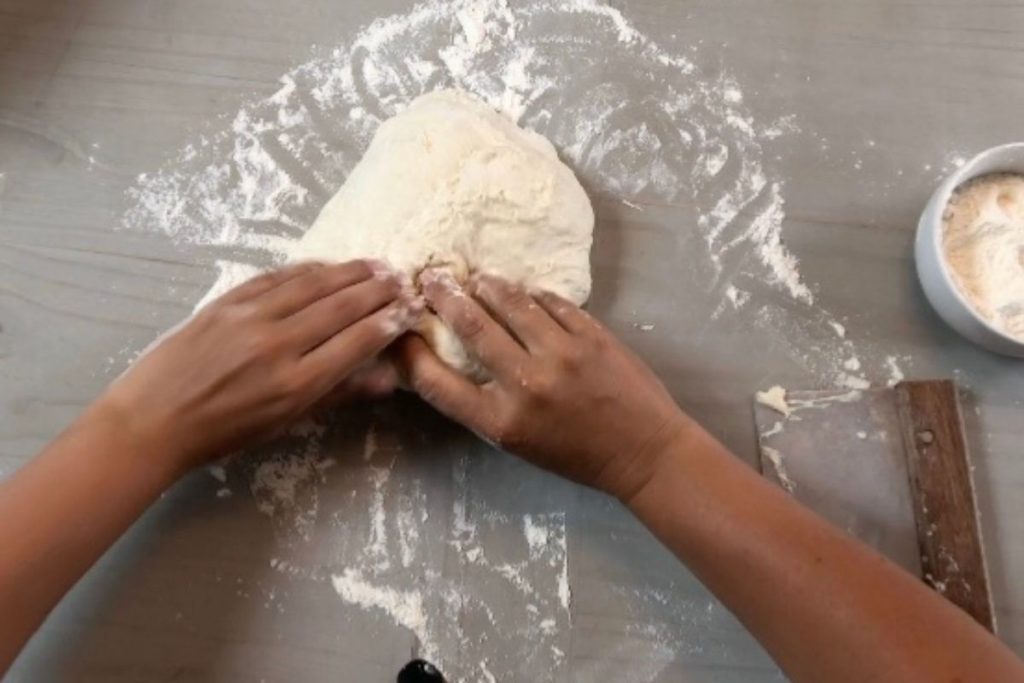
Do a few more stretches and folds. A bench scraper is really handy so you aren’t leaving any sticky dough behind on the counter, plus it helps with cleaning up excess flour. It allows you to have more control when pulling your dough together–just drag the dough back and forth across the counter to help it come together in a smooth ball.
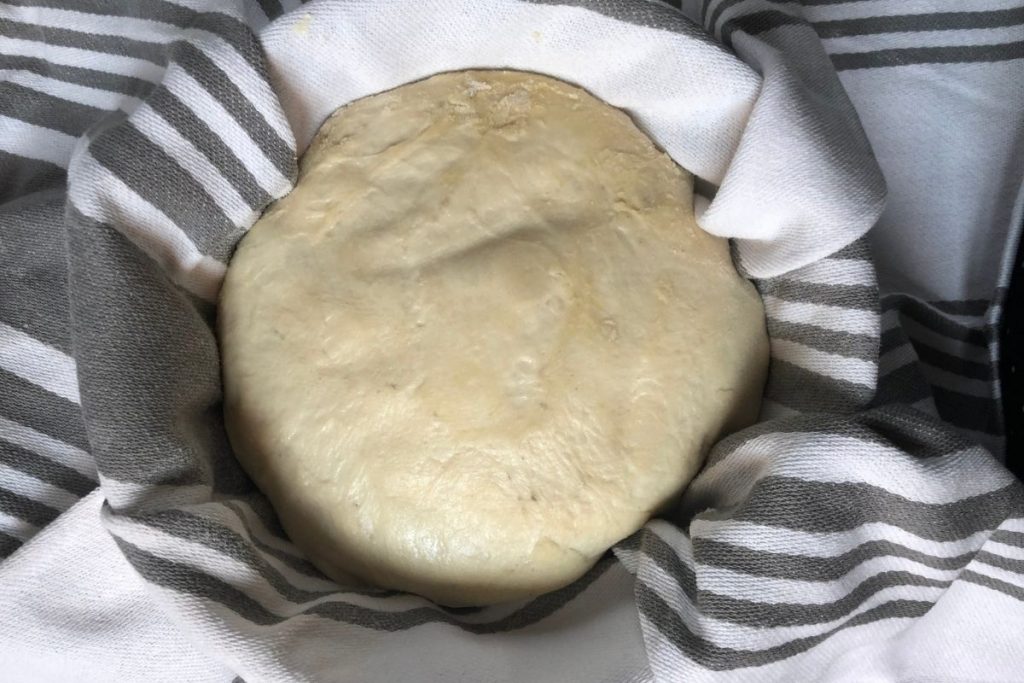
Finally, place your shaped loaf into a lint-free towel set in a breadbasket or proofing bowl. This is where your sourdough will do a long, slow ferment in the fridge.
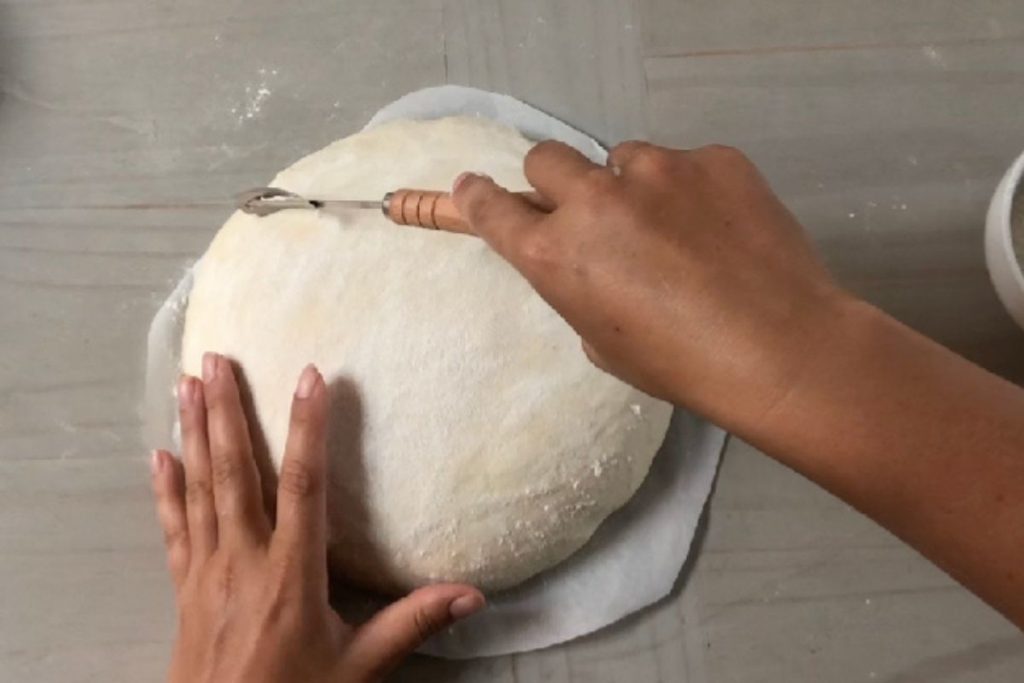
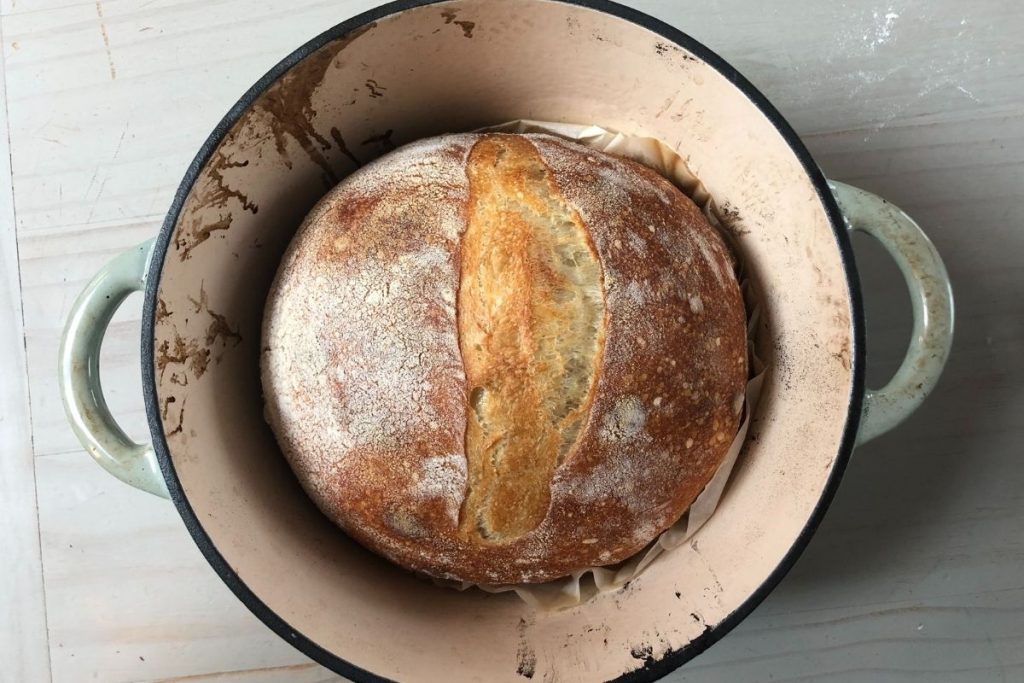
Step 6: Time to bake! The key to the perfect crust is heating the Dutch oven IN the oven, before putting the dough inside. Make sure to score it to get a pretty shape as it bakes. This lift in the crust is known as an “ear” and while it is very pretty, it also serves to show that you have done all the steps correctly to achieve the perfect sourdough bread.
Q&A
Why is the difference between a starter and a levain?
Your starter is an ongoing culture that is always fed and never used entirely. You use a portion of your starter to build a levain which you will use in entirely in a single bake. It’s basically a “baby” starter from your “mother” starter with a fancy name.
Do I have to build a levain? Why can’t I just use my starter?
Technically, you can! Just make sure you use it at the correct time the same as when you are making your levain… and don’t use it all or you will have to start all over again and build a new starter.
Do I have to let it cool before eating it?
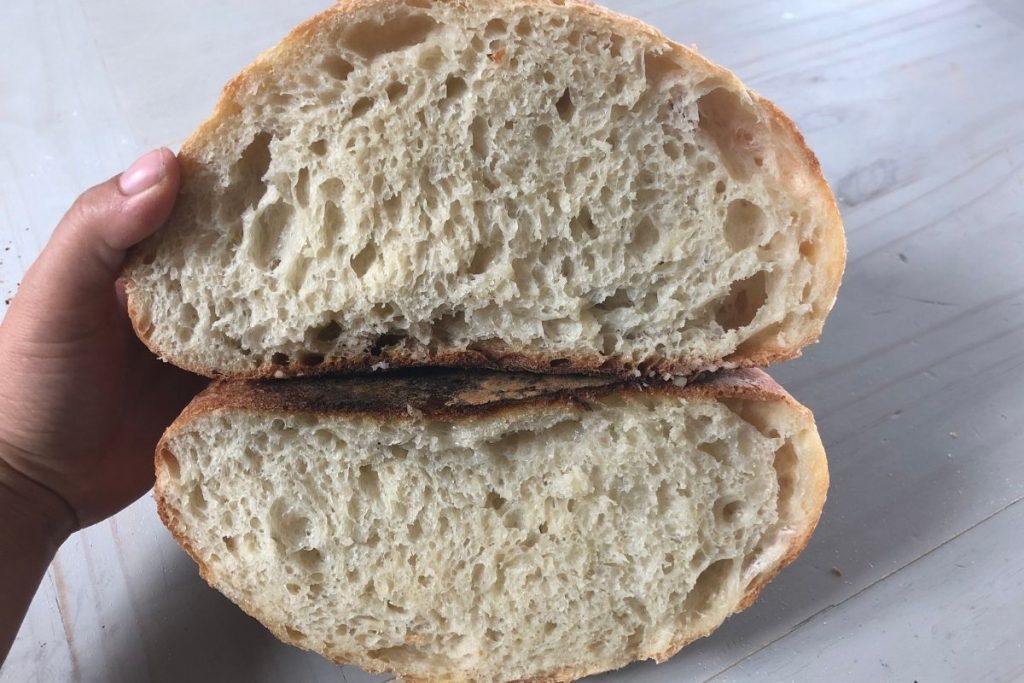
No…. but trust me it’s worth it! The bread is still baking and developing while its hot and it you cut it you will squish the crumb and it will dry out faster, this can also make the bread gummy.
Why didn’t my bread rise?
This usually happens because your starter wasn’t active enough. Make sure your starter was recently fed and active with lots of bubbles.
Why do I have to pre-heat my Dutch oven?
This helps steam to develop inside and creates oven spring, allowing your bread to rise.
Do I have to proof in the fridge?
For best flavor and results, yes. If the temperature is too high it will be over proofed. Also, this creates dormant yeast, but the bacteria will still multiply and that creates acetic acid which makes a sour flavor.
Do I have to use filtered water?
For best results, yes. Most tap waters are chemically treated that can cause the natural yeast to die. Room temperature water as opposed to cold just helps it to rise easier.

Sourdough Bread (Classic Boule)
Equipment
- Mason jar
- Dutch oven
- Parchment paper
- Large bread bowl
- Bread basket
- Tea towels
Ingredients
- 3 ½ cups bread flour (500 g)
- 1 ½ cups plus 3 ½ tbsp of room temperature filtered water (375 ml)
- 1 ½ tsp salt (10 g)
- ¼ – ½ cup rice flour for dusting (40 g)
- ¼ cup levain see directions below
Levain:
- 3 Tbsp mature starter Starter that has recently risen after being fed (25 g)
- 2/3 cup flour (50 g)
- ½ cup room temperature water (50 ml)
Instructions
Step 1:
- The first step to making sourdough (after making your starter, of course) is making the levain. It’s basically just making a baby starter from your original to bake with. Simply mix 3 tablespoons of mature starter, ⅔ cup of flour and ½ cup of room temperature water together in a mason jar, cover, and place in the oven with the light on and wait for it to rise.
Step 2:
- About an hour before your levain is ready we want to perform a step called “autolyze,” but don’t worry, it’s just a fancy word and this step is simple! Before you start this step make sure your levain is ¾ of the way to doubled. Mix together all of the flour and 1 ½ cups of water (you’ll use the rest in a later step). You just want to mix it together with your fingers until everything is moistened. Cover and let rest until your levain is ready.
Step 3:
- The third step is doing your float test. Take a tablespoon of your levain a drop it into a small bowl or cup of water, if it floats it's ready! If it doesn’t it means there is not enough gas and you need to leave it a while longer.
Step 4:
- The fourth step is your bulk fermentation, which is the first rise of your bread; this process will take 4-5 hours in total. This step takes a while but involves very little work unlike traditional bread. To start you’ll dimple your dough with your fingers. Add ¼ cup of the levain on top of the autolyzed dough and work it through until smooth. You’ll do this by folding it over on itself until it’s a smooth consistent texture. Now let it rest for 15 minutes.
- After it has rested, you’ll add the salt. To do this sprinkle the salt over the dough and add the leftover water from earlier. Dimple this in the same way you did the levain and once again keep folding until it’s a smooth dough. Then cover and place it back in the oven with the light on to keep it warm. After 30 minutes, remove from the oven and uncover. Wet your hands and place one hand under the dough and scoop it up and stretch just to the point it doesn’t rip and fold it over on top of itself. You’ll do this at four points of the dough (north, south, east, and west). Cover and place back in the oven for another 30 minutes.
- Repeat this process 5 times at 30-minute intervals. After the last set of stretch and folds cover and let ferment for the rest of the time. You’ll know that it’s done when it has risen between 30-50 percent, jiggles when you shake the bowl, and has bubbles on the top of the dough, especially around the edges.
Step 5:
- The fifth step is the shaping of your dough. You’ll start by lightly flouring your surface. Dump your dough onto your surface and lightly flour your hands. Perform the stretch and folds once again until your dough is a rough circle. Turn the dough over (a bench scraper is great for this but not necessary), cover and let rest for 15 minutes.
- You’ll now want to prep your breadbasket (or bowl lined with a tea towel works just fine). Coat your basket or tea towel with rice flour (this keeps the dough from sticking).
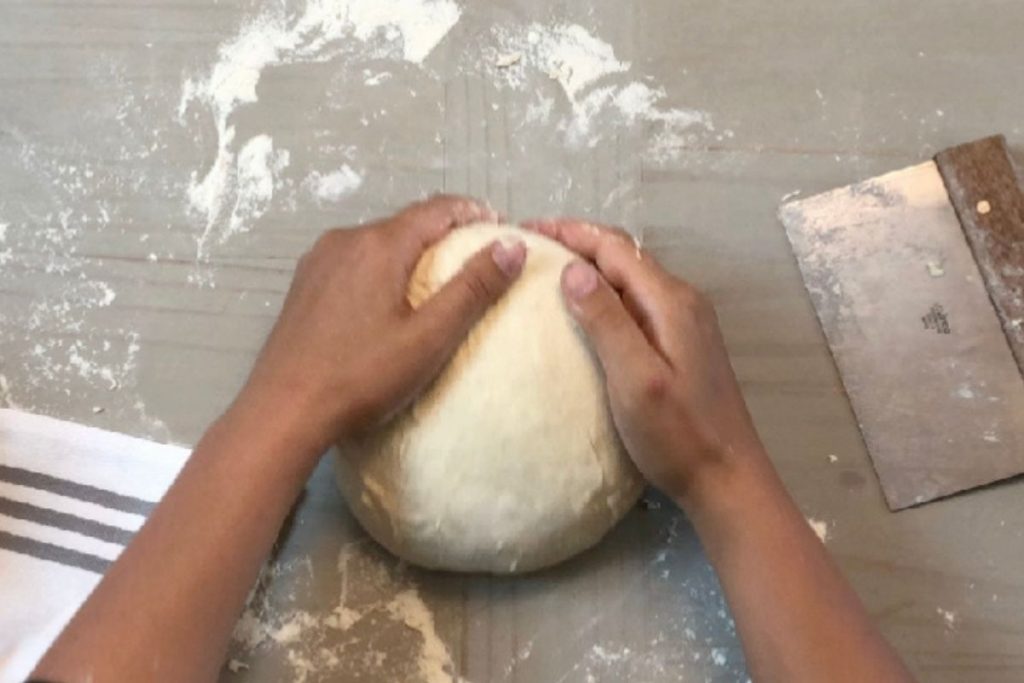
- Now back to your dough! This is where a bench scraper really comes in handy but again not necessary). Dust the top of your bread with bread flour and use the bench scraper (or your hand) to turn the dough over. Complete another set of stretch and folds and this time when your dough is in a ball turn the dough over on your work surface and cup your hands around the ball. Pull it towards you using both hands for 4-5 inches dragging it. This will tighten the ball up. Do this several times rotating the ball each time until the ball is tight and round, but don’t do it too many times or you’ll tear your dough!
- Now lift your dough and drop it into your proofing basket with the seam side up, cover, and pop in the fridge for 8-10 hours.
Step 6:
- You're almost there! This is the baking step. But first, you’ll place your Dutch oven into your oven and then preheat it to 500 degrees F. Take your dough out of the fridge and lay it on a small piece of parchment paper. Dust the top with a little flour and then score it with a sharp blade or a traditional lame. Make sure its deep so you get a nice “ear” once it's cooked.
- Remove the Dutch oven (make sure you use mitts and be careful as it will be very hot). Carefully place the loaf and the parchment into the pot and place the lid back on. Place into the oven and bake for 25 min. Reduce the temperature to 400 degrees F and remove the lid. Bake for another 20 minutes. Remove from the Dutch oven and let rest for at least an hour to let cool. It’s tempting to cut right away but cutting too soon can make the bread gummy so be patient and let rest for at least an hour.
- Enjoy!

More Sourdough Resources


>> Have you tried this recipe? Share your best pic with us or leave a comment below and let us know how it worked for you!
StandsZone is your top choice among exhibition stand builders in Dubai, offering exceptional design, construction, and contracting services. Leveraging our extensive industry expertise, we excel in crafting eye-catching and innovative exhibition stands tailored to your brand’s unique needs. As trusted exhibition stand contractors in Dubai, our dedicated team is committed to delivering excellence, ensuring your presence at every event leaves a lasting impression. Partner with StandsZone to elevate your exhibition experience and stand out prominently in the spotlight.
Exhibition Stand Contractors In Dubai
Thank you very much dear teacher for this nice sharing
The Best Exhibition Stand Contractors
Thanks for sharing recipe
So long of a process but worth it!