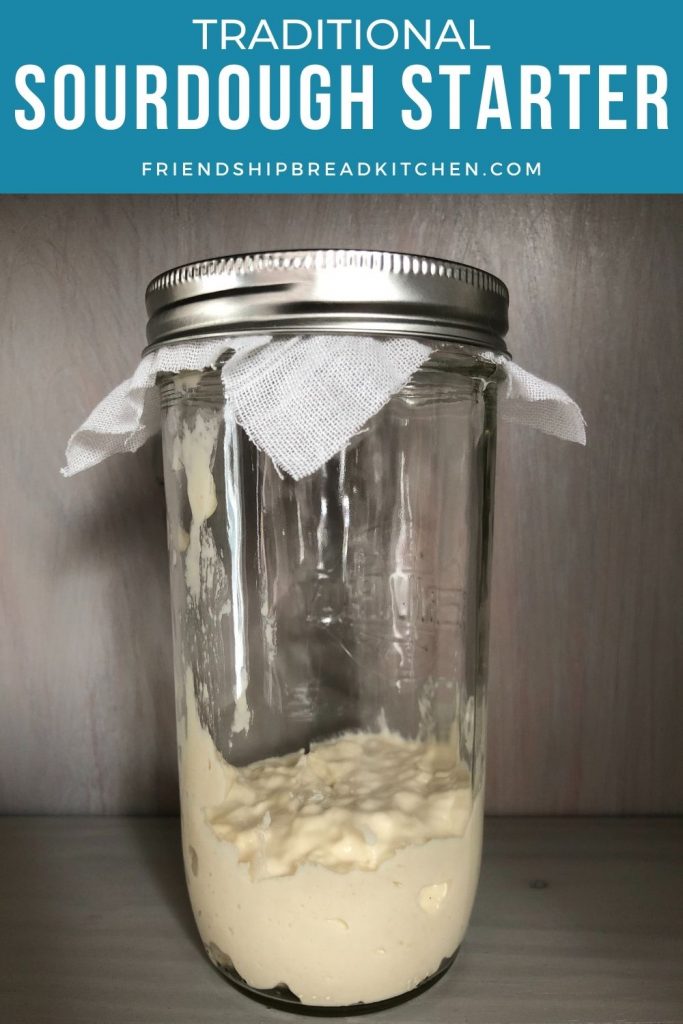
If you want to make freshly baked sourdough at home the way it’s been done for centuries, try your hand at this traditional sourdough starter that’s made with only flour and water.
A quick note: This recipe post is for a traditional sourdough starter. Amish Friendship Bread starter is often considered a “short-cut” starter because it uses commercial yeast to get it started. Much sweeter than a traditional sourdough starter, Amish Friendship Bread starter is used primarily to make a sweet cinnamon-sugar loaf similar to a quick bread. Even though the Friendship Bread Kitchen focuses on recipes you can make with one cup of Amish Friendship Bread starter, many of the recipes can be swapped with one cup of traditional sourdough discard, and many of the same tips and tricks apply. While you can use an Amish Friendship Bread starter to make traditional boules and sandwich bread loaves, many Amish Friendship Bread bakers prefer to have two kinds of starter on their counter at any time, and the traditional sourdough starter is one of them!
A mature starter is generally best, one that has been active for quite some time, sometimes even years and passed on among friends and neighbors. But if you can’t get your hands on one, it’s easy enough to start your own and eventually share with others. Here’s a quick pictorial — just print out the recipe card when you’re ready to get started!
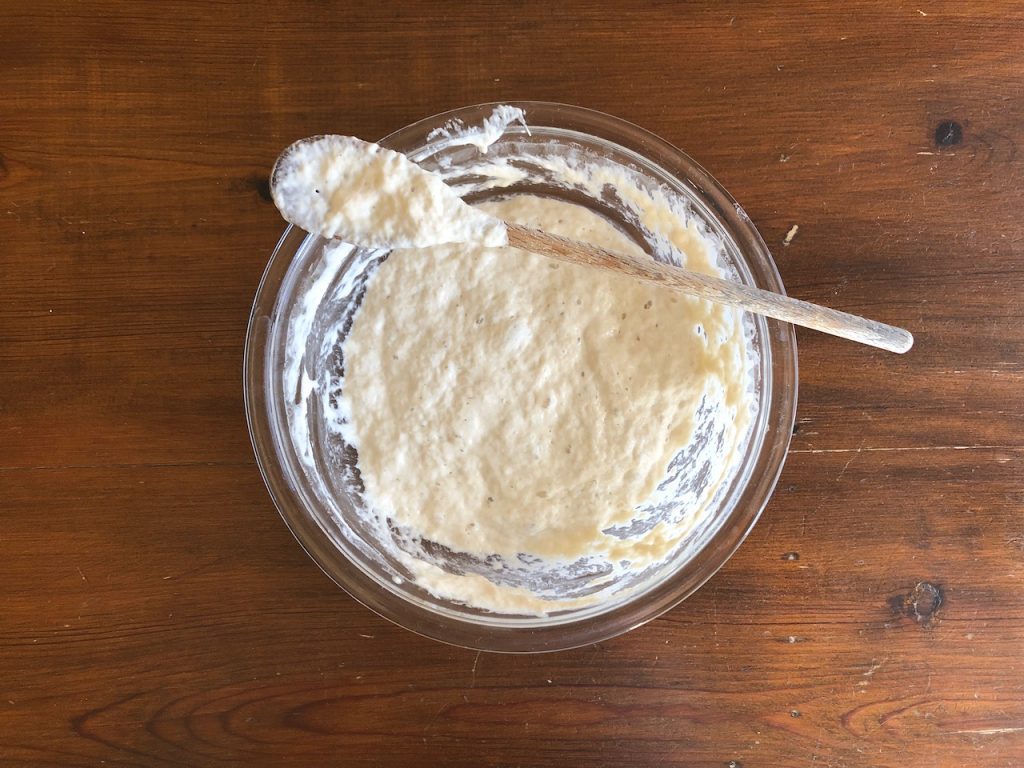
Sourdough Starter – Day 1
A sourdough starter begins with water and flour. That’s it! Your starter will pick up the necessary good bacteria from the air to get things going. This “wild” yeast will give your bread that classic sourdough taste, and different starters from different parts of the world develop their own, special flavors
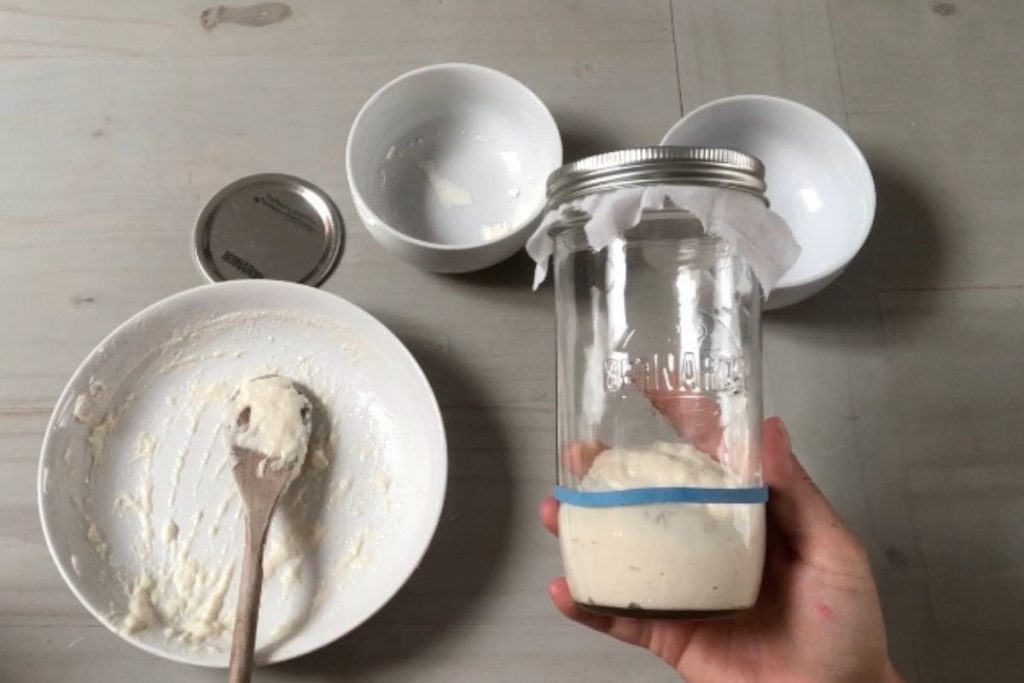
Sourdough Starter – Day 2
Add more flour and water and not seeing action yet.
Sourdough Starter – Day 3
It’s time to start a “discard jar” which is where you’ll put your excess starter. You generally discard a portion of your starter before you feed it, as starters need to be fed at specific ratios so you’ll want to keep the size of your starter manageable. Some people will let their discard go down the drain, but others like to use it in recipes that call for sourdough or Amish Friendship Bread discard.
Discard is safe and delicious to work with, but isn’t going to give you an airy loaf of bread. Here are a few of our favorite discard recipes. And here’s the best news: many of the cake/quick bread-type recipes in our Recipe Box that call for one cup of Amish Friendship Bread starter can be swapped with 1 cup of healthy sourdough discard!



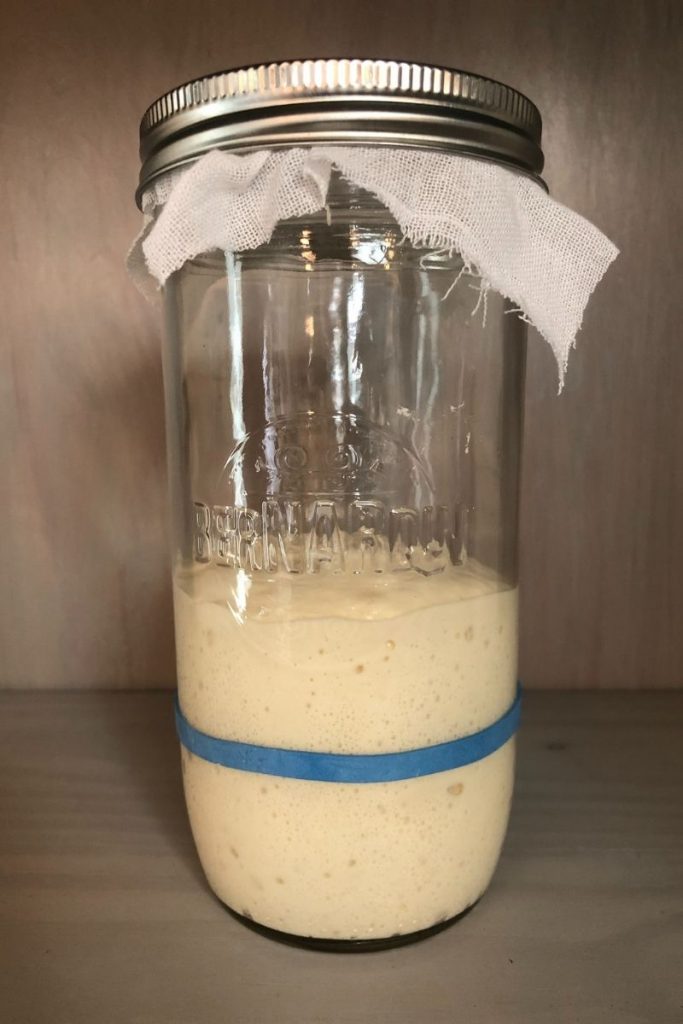
Sourdough Starter – Days 4-7
Exciting things are starting to happen, albeit slowly at first. You’ll see some bubbles and notice a good, yeasty smell to your starter. Continue to feed per the schedule, adding to your discard jar as you go along. Remember to never seal your jar or container completely! Your starter needs to breathe.
On Day 7, your starter should be ready to use! Please note that every kitchen is different, and starters don’t do well in cool or cold climates. If you aren’t seeing activity and a doubling on a daily basis after you feed it, your starter may need some tweaking or a little extra TLC. Use a rubber band to help you track the level of your starter right after you feed it, so you can see how it’s doing.
How to Store Your Sourdough Starter
You can keep your starter on the counter in a warm place if you’d like to feed it every day. If you would like to bake with it once a week, the best place to store it is in the fridge. Putting it in a cold environment won’t kill your starter, just make it dormant or sleepy (hint: check out our FAQs and Tutorials for help). You’ll want to place your sourdough starter in the fridge an hour or two after feeding it (to give it a good start), and it can last a few weeks in there.
The day before you’re planning to use your starter, just take it out from the fridge and let it come to room temperature, usually a couple of hours. Then feed it according to the proper ratios to “wake it up.”
Not ready to start and maintain a traditional sourdough starter? Try our classic Amish Friendship Bread Starter.
The Sourdough Starter Sink or Float Test
It’s not a foolproof method, but the float test is helpful in determining if your starter is healthy and happy and ready to use. The concept is simple: the yeast in your starter creates gas, making your starter light and airy. This extra air means it will float on the top of water if your starter is ready to be used in a recipe that relies on the starter as a leavening agent. (Amish Friendship Bread bakers should note that float test doesn’t generally work for Amish Friendship Bread starters). If your starter passes the float test, you’ll want to use it within the next couple of hours.
Traditional Sourdough Starter
Equipment
- 1-2 medium sized mason jars (mine are 24 oz.)
- Paper towel
- Rubber band
- Digital scale
- Wooden spoon
- Small mixing bowl
Ingredients
- 4½ cups bread flour
- 3½ cups room temperature filtered water
Instructions
Day 1:
- What you do: Add ⅔ cup of flour (100 g) and ½ cup (100 ml) of room temperature water to a bowl and mix until smooth. Add the mixture to your clean mason jar. Cover the jar with a paper towel and top with the outer ring of the mason jar lid (this allows the starter to breathe–you never want to seal it completely). The next step is the most important: give your starter a name! This is a tradition in the sourdough world, because you are going to love, feed and care for it like your own. Now place your starter in a draft-free area–avoid cool or cold temperatures.
- What you will see: Nothing but flour and water and no activity.
Day 2:
- What you do: Add another ⅔ cup (100 g) of flour and ½ cup (100 ml) of water in a bowl, add this mixture to your starter and mix together until smooth. Place it back to rest for another day.
- What you will see: Maybe a few bubbles.
Day 3:
- What you do: Take out 3 tablespoons (50 g) of your starter and add to a new mason jar. Feed this new jar with another ⅔ cup (100 g) of flour and ½ cup (100 ml) of water. Keep what’s in the original mason jar covered in the fridge for another day and another recipe (this becomes your discard jar).
- What you will see: No growth but a lot of bubbles; it may smell a little. This is a good sign that you are beginning to cultivate natural yeasts. The smell will dissipate when your starter is a little more mature.
Days 4-7:
- What you do: Complete the same process as Day 3. You don’t have to use a new jar each time, just remove all but 3 tablespoons (50 g) before feeding and make sure to add what you removed to your discard jar. Now you need to feed your starter TWICE a day, morning and night, about 12 hours apart.
- What you will see: Day 4 – Activity! you should start to see some rise or volume every time you feed it. But it is not yet ready to bake with, you need a few more active feedings. Day 5 – More activity! Yay! This is where you add a rubber band so you can track the growth. Day 6 – Your starter should rise and fall. Day 7 – Your starter should now be doubling in size every time you feed it. If not, see the Tips & Tricks section below to troubleshoot. Congratulations, you are now ready to use your starter to bake!
Notes
- Make sure your kitchen is draft-free and not too cold when growing, maintaining, and storing your starter.
- When possible, use slightly warm water to get it going.
- When possible, use only filtered or bottled water, depending on where you live, as the chemicals in the water can kill the good bacteria needed to grow your starter.
- When possible, use a high protein, good quality bread four OR split the flour amount in half and use two different flours (for example, half spelt and half bread flour).
>> Have you tried this recipe? Share your best pic with us or leave a comment below and let us know how it worked for you!
This will be my first attempt at a sourdough starter of any kind. My question is, if you want to keep this starter alive and well for years to come, do you have to continue to remove the bulk of the starter each time you feed it?? Can’t you just add the fed mixture in with the entire batch, doubling it each time you feed?
Thank you in advance for the insight.